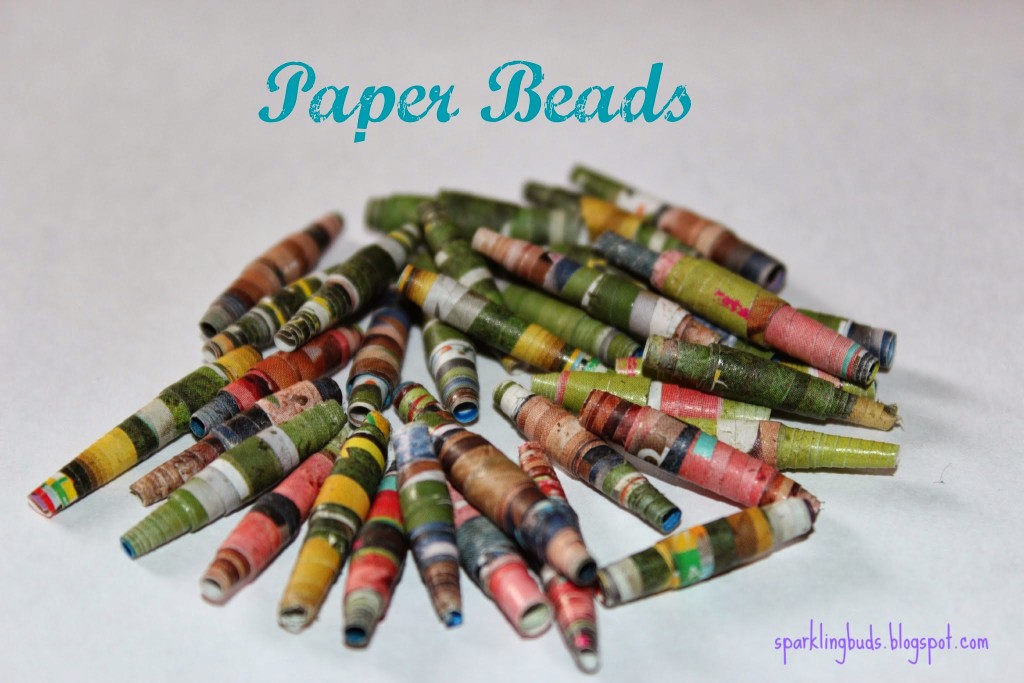
I wanted to try out the paper bead with my 7 year old daughter when I read about it in a magazine.
An old magazine was lying around the house ( NOT the same magazine in which I read about paper beads :))) which we used to make the paper beads. We choose the paper in green shade to have slightly similar beads. But different color paper will add its own beauty.
The ideas is to cut elongated triangles out of paper and roll them around some stick into beads.
I measured the paper and drew the triangles before cutting, again to have similar beads. Again different triangles will surely do fine. I marked dots 1 inches apart on the either side of the width side of the paper. Drew the triangles connecting the marked dots.
Yes, I made a mistake in the middle of the paper. :))
Daughter cut out the triangles.
We used toothpick to roll the paper. Sorry, we did not take the picture as we were busy. But, trust me, it is very simple.
Start with the wide side of the paper and roll the paper around the tooth pick. Position the working paper in the middle always so that the bead will have a nice shape. Apply little glue around 1 inch from the end and keep rolling till the end. Wait for few minutes and remove the bead from the toothpick. Let it dry!
The beads are ready. The procedure asked for applying clear acrylic paint for durability, shining and smoothness. We did not apply anything as we liked the beads this way.
Our beads are waiting for the mid winter week next week to be made as a Jewelry.
Daughter found it little bit difficult to roll the paper tightly. But the beads came out just fine.
Happy Beading!!


WOW..will give a try for sure