Do you remember the avocado pits we carved sometime back? We used push pins to carve avocado pits. The details are here.
| Carved pits which we had kept for observation |
We had kept the pits for observation. They were turning color and were reducing in size. Eventually each pit broke into two halves by themselves. When I saw the halves, they were looking like insects. Can you see what I mean?
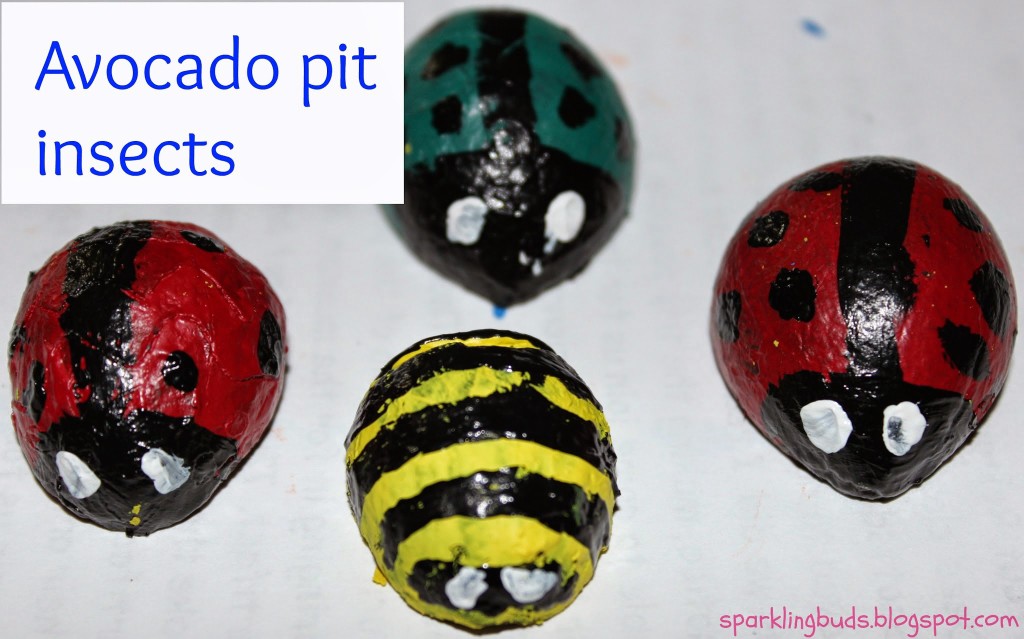
We painted each half with acrylic paint to make insects. For ladybug, we painted the pits with red and drew the black dots, lines and white eyes after red got dried.
To make a bee, we painted with yellow. We waited for the yellow to dry and drew black lines. Since the pit used for ladybug had carving, it did not leave a clean output.
We painted one of the pits in green color to make a turtle. But my daughter could not draw the turtle design with black paint. Hence she changed it to a green ladybug.
I am planning to make more for my toddler to use as counters. The insects are perfect for spring!
Thanks for reading the post. Hope you enjoyed reading it. You may be interested in our other Spring activities.
If you found this post useful, pin it or share it. It will keep me motivated. Thank you!


What a unique idea. I’m featuring this at Meaningful Mama this week. Thanks so much for linking up at Mom’s Library. I hope you’ll join us again.
Thanks Jodi for featuring this. Will surely join you at Mom’s library.
How cute! Thanks for linking with Tuesday Tutorials #pintorials
I never thought I would say this, but what cute avocado pits! lol!
Oh, how neat!! I love how they came out. Thank you for sharing at Sharing Saturday!!
Pingback: Fun Indoor and Outdoor Summer Learning Activities to Help Avoid the Summer Slide — Mami of Multiples