Hi Everyone,
We got a chance to get introduced to papercutting. It is an art of cutting designs in paper. We started with the template and ended with creating our own designs.

Materials Needed :
1. Paper (We used printer paper)
2. Scissors
3. Template (Optional)
Method:
Step 1: Cut out the template. We took the template from here. I chose the easy one suitable for kids
Step 2 : Fold the paper in half lengthwise and cut.
Step 3: Fold the paper in accordion style according to the dimensions given in the template. The length and width of the fold should match the dimension mentioned in the template.

Step 4 : Draw the template on the first page of the fold.
Step 5 : Cut along the lines. Open the paper and enjoy your creation!
Note : When I took the printout, I did not keep the setting at 100%. My mistake! We first tried bunny from the template. It did not come out as expected as the template itself was little smaller than the dimensions given in the template. So for the next project, I accordion folded the paper based on the dimension of the template (Not on the dimension given in the template)

The birds are from the template

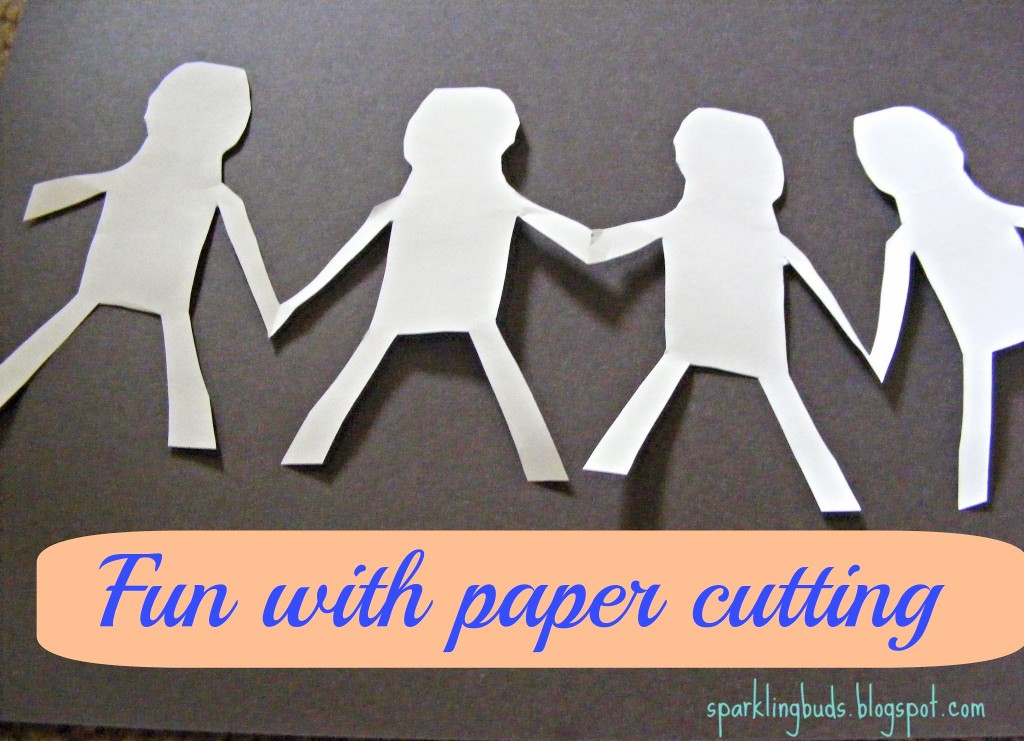
Once she understood, my daughter wanted to try out her own designs. People connected by hands and legs.

People connected only by hands

Hearts
Papercutting is a very old art. We are happy to just get introduced to it.
Check out how we created Shamrock garland using papercutting.
Have you ever tried papercutting? What designs did you create?

For more ideas, please visit these sites that I might h
ave linked !
it is really nice and creative.
Thanks Lakshmi
Thanks for this post. I remember loving to do this as a kid! I’m going to have to do it with my son soon.
Thanks Cassie. Hope your son enjoys as much as my daughter!
My girls will love this! Thanks so much for sharing this idea. Pinning.
Thanks for the comment and Pin Laurie :))
Lovely – you can’t beat a good bit of paper-play…we do Origami with the kids a fair bit, and this is perfect too. Thanks for taking part in the Parenting Pin it Party this week.
Thanks KiddyCharts for your lovely comments!
Oooo lovely idea, my toddler will love this, I shall be trying it out and pinning, thankyou. I’m over from the Pin it Party.
Thanks Priya..