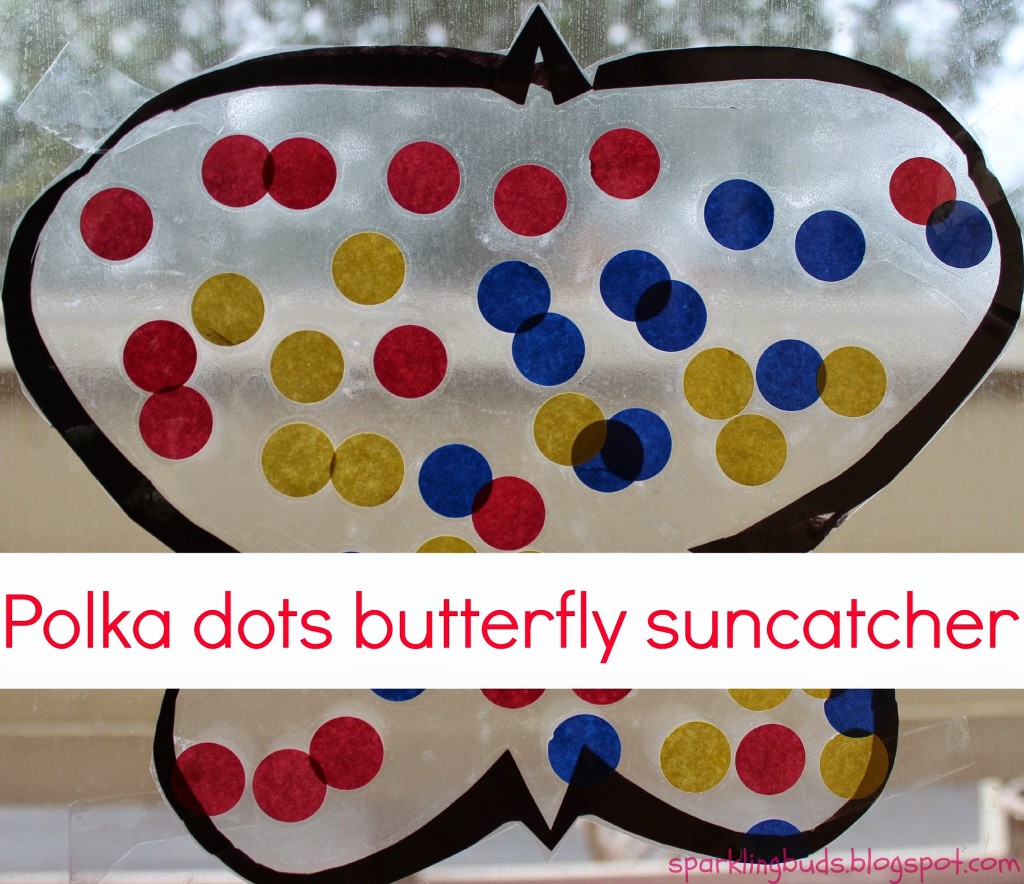
My toddler loves contact paper. When she was around 9 months old, I used to attach contact paper with sticky side facing her in her high chair. She loves sticking her fingers and taking them off. Her love towards contact paper still grows everyday.
Affiliation links are used. Full disclosure policy is here. Thanks for supporting!
Materials needed:
Cut out the butterfly from the black construction paper. I folded the paper in half. Drew the right side of the butterfly and cut it out. You can find out from the shape of the butterfly that I did not use a template :-). You can also use any free template or coloring pages.
Cut out the inside of the butterfly leaving at least 1 inch on the sides. I just eyeballed and cut out the inside portion without drawing which resulted in thin sides at few places.
Attach the contact paper with the sticky side facing the child with painters tape on the corners. Paste the butterfly template on the contact paper.
Invite the child to place the color coding labels inside the butterfly.
We learnt about colors while sticking the labels. She was working on fine motor skills too.
Sticker labels and sticking side of contact paper kept her interest.
Once she was done sticking the labels, I covered the butterfly with another sheet of contact paper. Trimmed the excess contact paper on the sides of the butterfly.
Stuck the butterfly on the glass window with the tape. My toddler is proud of her work. Whenever she crosses the window, she says, “I did it”.
Hope you enjoyed reading the post! You may be interested in other Spring activities. Thanks for reading.


Cute butterfly..yeah She shd be proud!! 🙂
Thanks Grace
Nice work! Contact Paper can be so much fun!
Thanks Olivia
I do loads of crafts with my preschooler. It’s such a fun. I think she will love this. Thanks!
Thanks Nishana!
Contact paper is a terrific tool for creativity. This project turned out great!
Thank you for stopping by the Thoughtful Spot Weekly Blog Hop this week. We hope to see you drop by our neck of the woods next week!