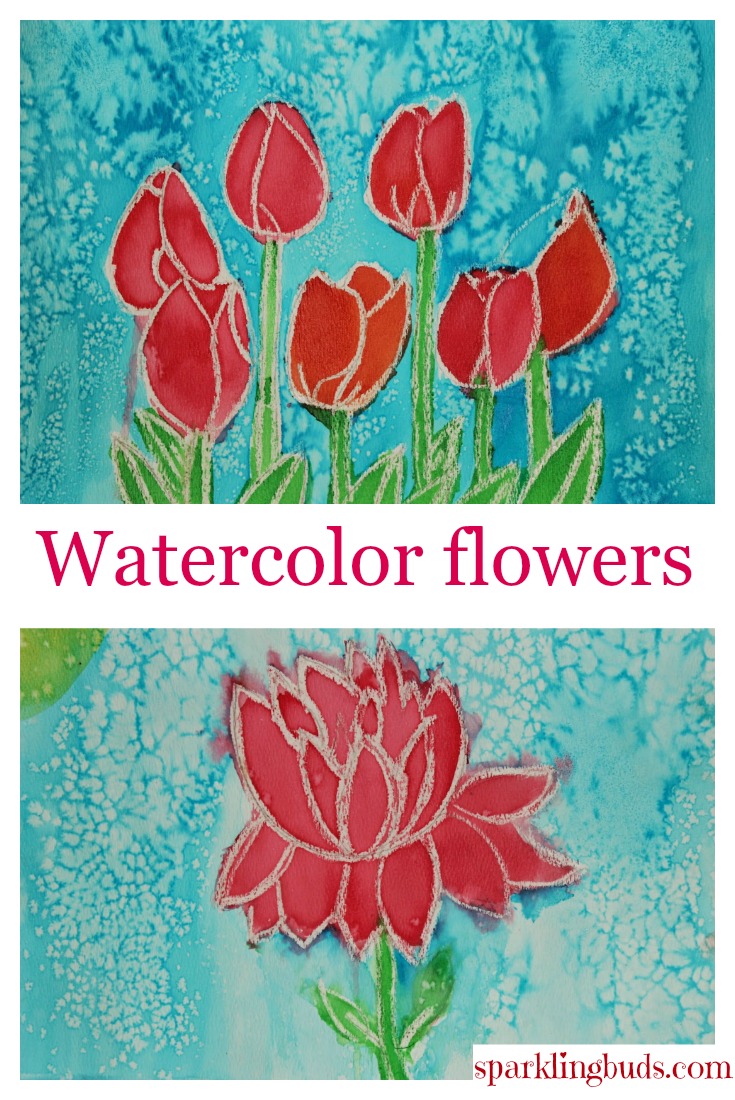
Once we were using crayon resist for passing secret messages. Then somehow it got stopped. Though watercolor is our favorite medium, we did not use watercolor for long time until recently. When my daughter created secrete birthday message for her father recently, she got hooked again. We took crayon resist to the next level by using it to draw a picture rather than only message. This is the first time we used wet on wet technique and salt in our process. I hope this simple watercolor flowers tutorial will motivate you to try watercolor flowers!
Affiliation links are used. Thanks for your support!
Materials needed:
1. Watercolor paper
3. Paint brush
4. Salt
5. White crayon
6. Pencil
Method
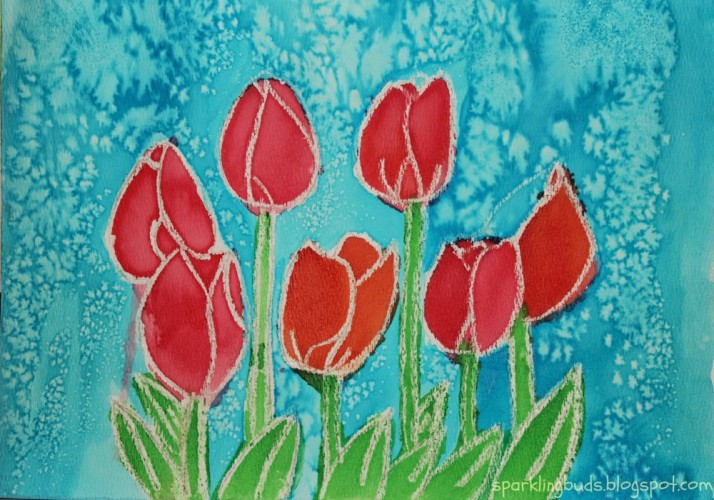
We drew flowers with pencil in the watercolor paper. I chose to draw tulips and my daughter chose lotus. After drawing with pencil, we traced the picture with white crayon. Since the white crayon was not visible at this point, my daughter was little concerned whether we traced her picture completely.
We started painting the background first. We applied a lot of water to the background with a paint brush. I could even see puddles at some places. Removed excess water with the kitchen towel. Touched the paint with little water in the brush and applied on the paper. The paint spread beautifully because of the water in the paper. Sprinkled little salt on the background. It was like a magic to see how salt acted on watercolor! My daughter got little excited that she kept on adding salt to both of our artworks.
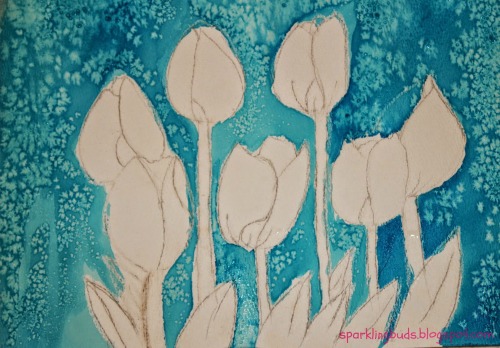
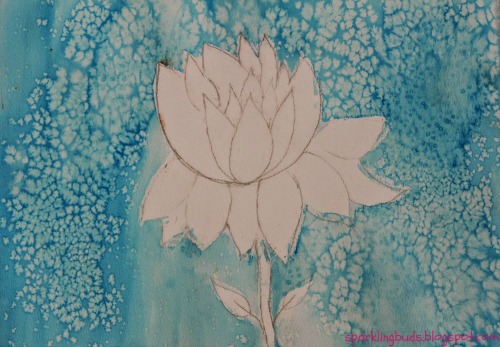
We waited for the background to dry completely. Applied water to the picture and painted with watercolor. The white crayon popped up like another magic. Voila! Our beautiful artworks were created.
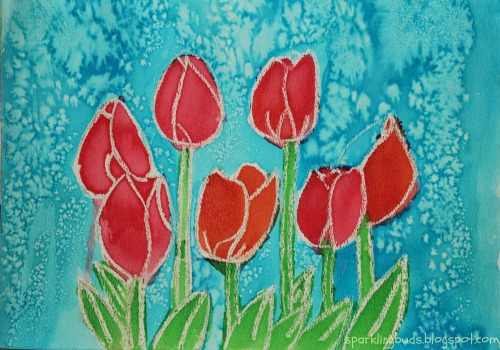
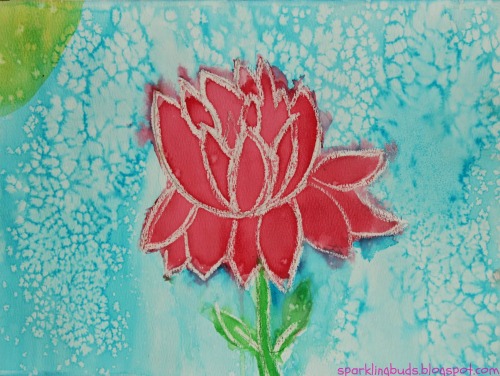
As I said, we tried wet on wet and salt for the first time. Loved both! Watercolor always gives beautiful result and we got this time too.
Daughter was very proud of her work. The paintings will surely brighten up our space for Spring.
Thanks for reading the post. Hope you enjoyed. You may be interested in our other painting ideas.
 |
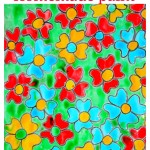
Please feel free to pin the following image.

If you found this post useful, pin it or share it. It will keep me motivated. Thank you!
Very Nice. Thanks for sharing the method too.
I had tried out both the wet – on – wet technique and the salty watercolour technichque too. Came out well. Happy that I had learned something new. Will share the pictures soon.
Thanks Muhil for the comments! Can’t wait to see your pictures..
Hai…
Here’s my try on wet on wet technique, salty watercolors Salty Watercolor Painting
Here’s my try on crayon resist water color painting Crayon Resist Water Color Painting
Thank you for introducing me some new techniques.
Hi Muhil,
Your paintings looked beautiful! Glad you tried.
Those turned out beautifully! I’ve pinned to at least 2 boards, and I’m featuring you this week on Mom’s Library at Crystal’s Tiny Treasures. Happy Easter!
Thanks for the pins and feature Crystal!
This is such a great project. I’m pinning it and featuring you at Meaningful Mama tonight. Thanks for linking up with Mom’s Library. We hope to see you again this week. I’ll be pinning this one too!
What a fantastic technique! This turned out lovely! Thanks for sharing!
This looks fun! I am going to try this with my kids.
Thank you for stopping by the Thoughtful Spot Weekly Blog Hop this week. We hope to see you drop by our neck of the woods next week!
This looks very interesting. But sorry I lost you. How did you apply the pink colour on the flowers? It had crayon colour on it right?
Hi Aarti, we just traced the outline of the flowers with crayons. We did not color them with crayons. We painted our flowers with pink watercolor. When the painted the flowers with the watercolor, the white crayon outline popped up and acted like a boundary too!
Pingback: water coloring flowers techniques - WaterColor Web
Pingback: Beautiful Spring Art Projects for Kids - Creative Family Fun
Pingback: Easy Flower Art Projects Kids LOVE!
Pingback: Wonderful Watercolor Crafts for Kids | A Night Owl Blog