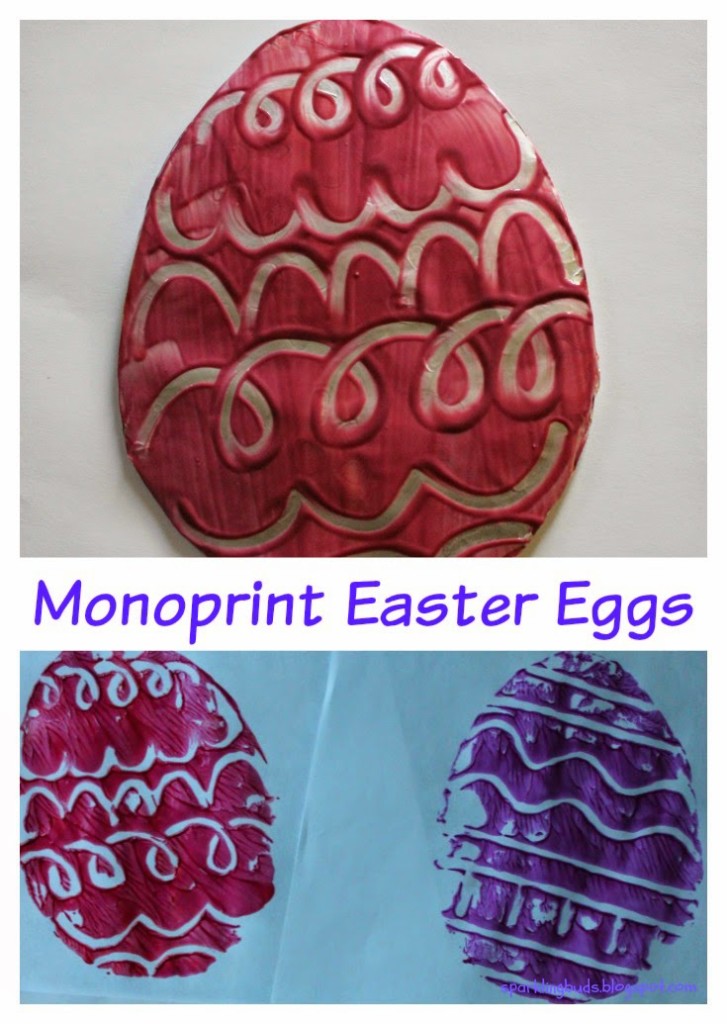
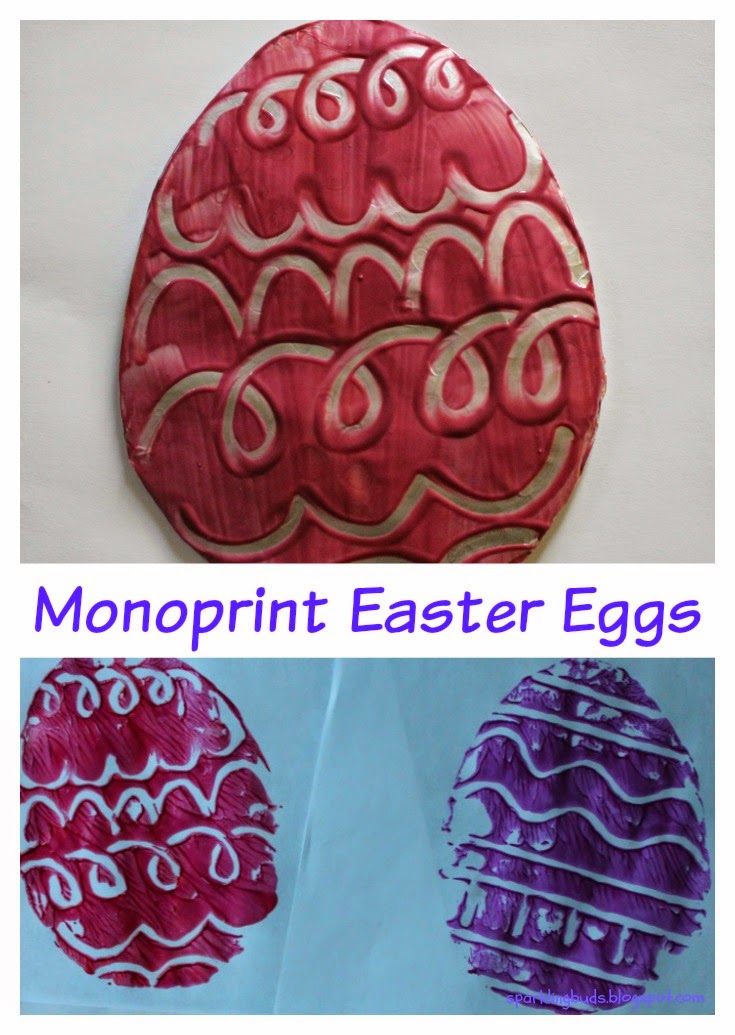
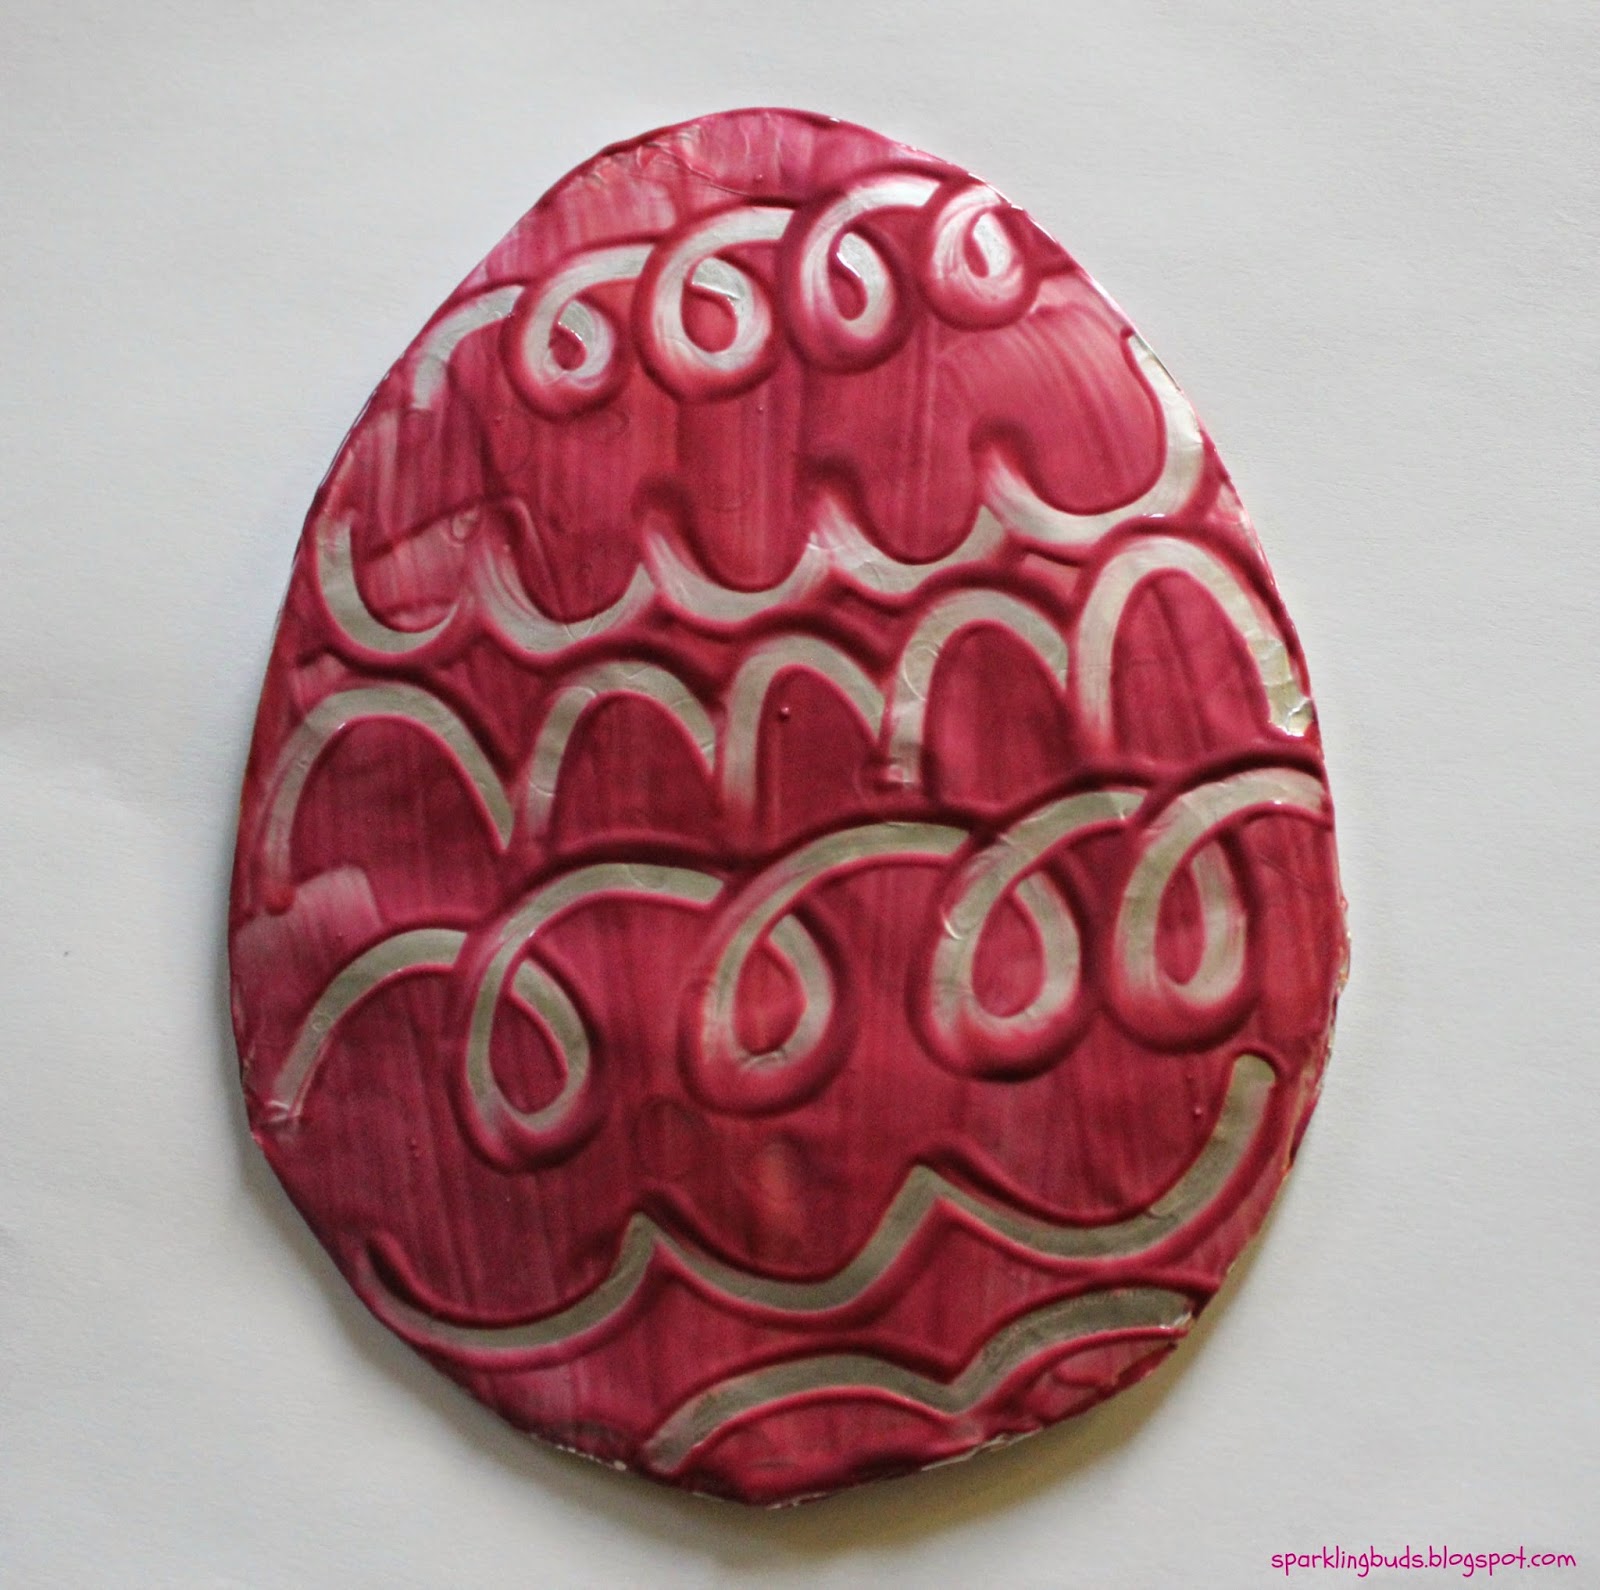
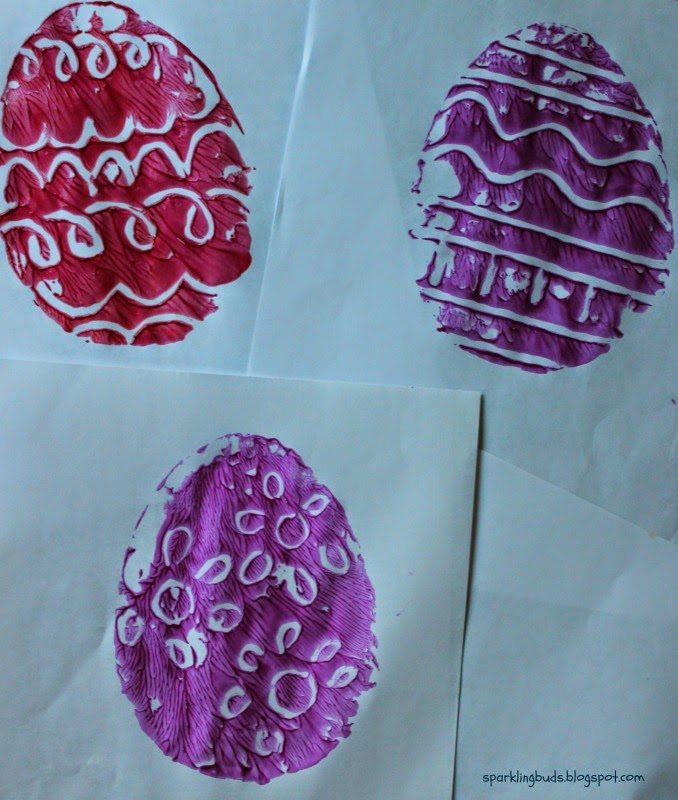
We had done Monoprint when my elder daughter was 2 years old. After 6 years, we tried doing it again. We used our beloved aluminium foil to make these beautiful Easter eggs prints using Monoprint technique.
Materials needed: (affiliation links are used)
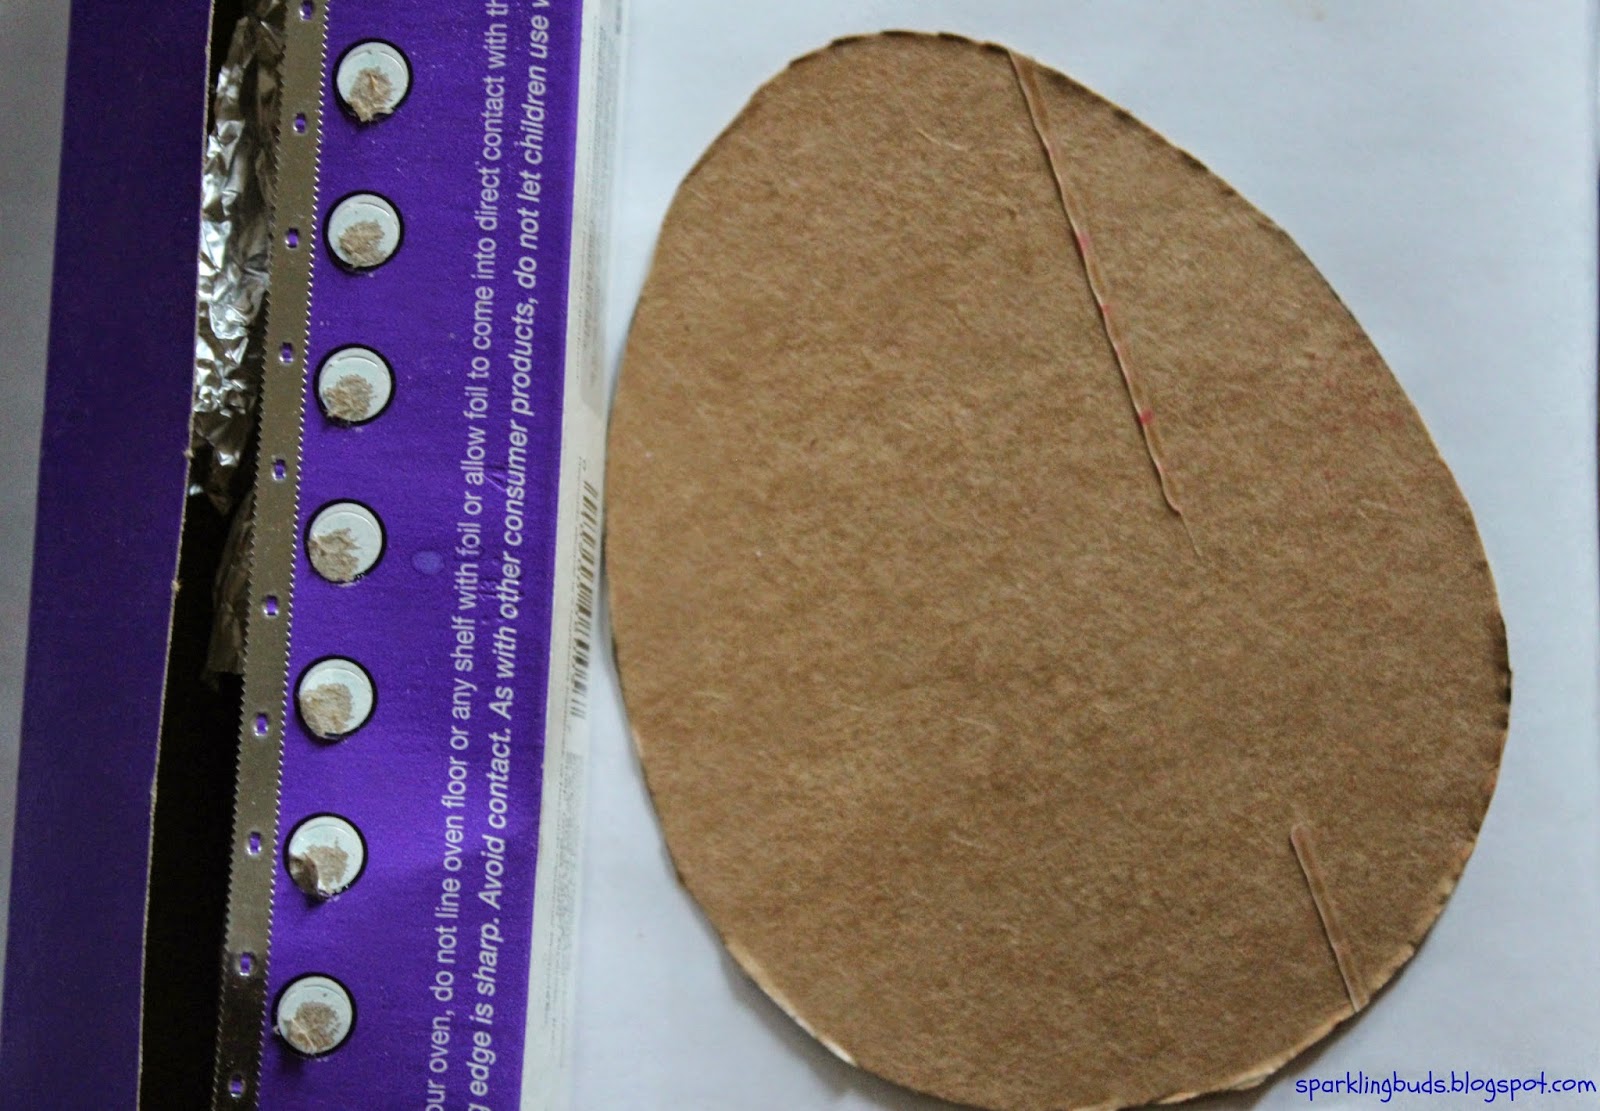
1. Cereal box
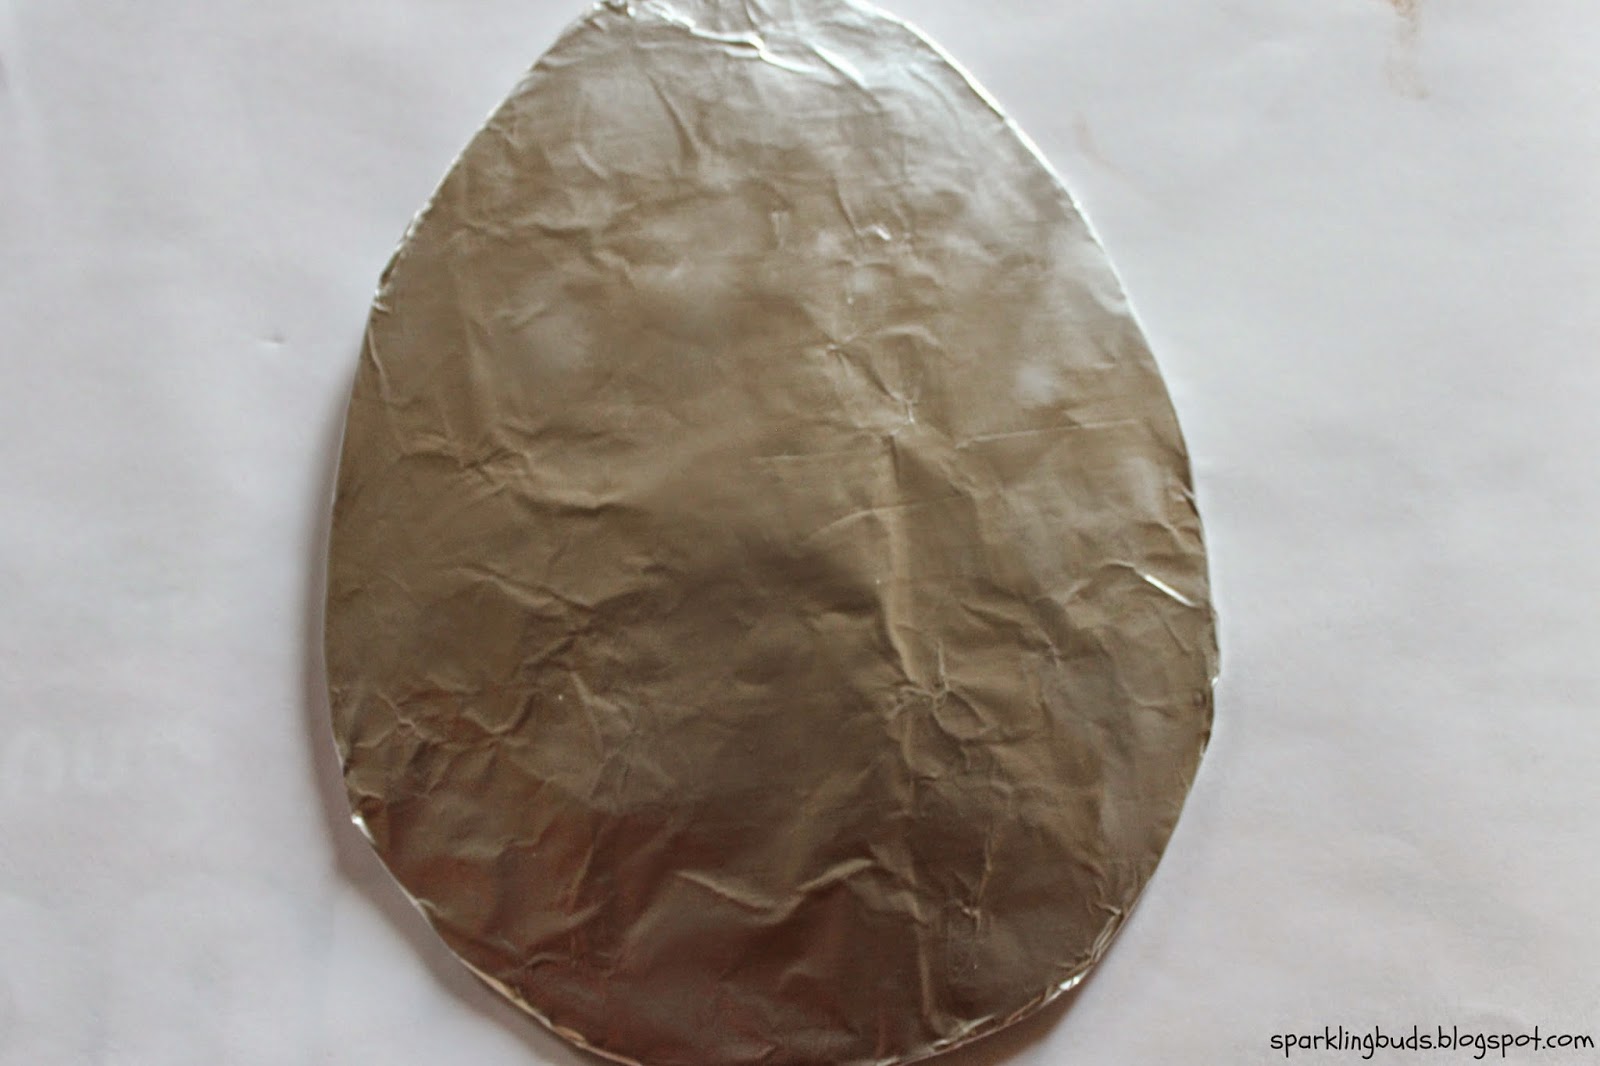
2. Aluminium foil
4. Paint brush
5. Copier paper
6. Q-tips
Method:
1. Cut out an egg template from the cereal box,
2. Cut the aluminium foil slightly bigger than the cereal box. Cover one side of the egg with the foil.
3. Paint the aluminium egg with tempera paint . Draw in the paint with the q-tips.
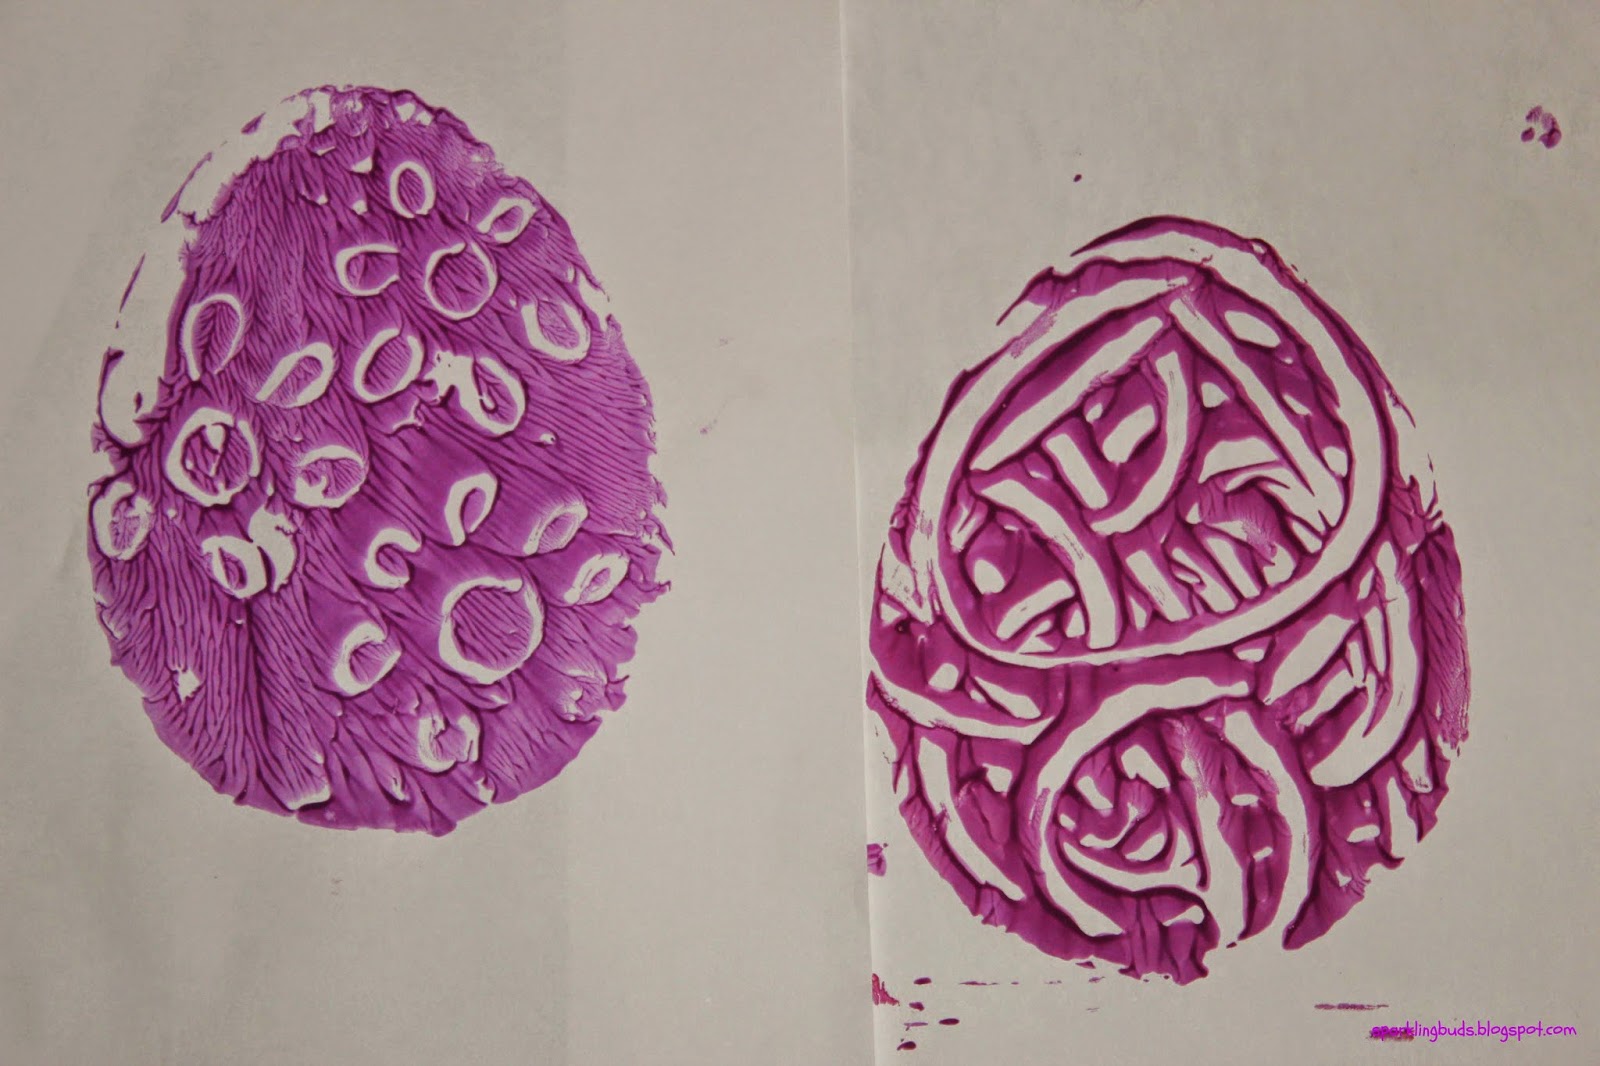
4. Put a paper on the egg and slightly press it to print the design on the paper. Remove the paper. Voila! It is done!
The design can be printed only once (hence the name monoprint). That added more interest. My daughter was repeating again and again.
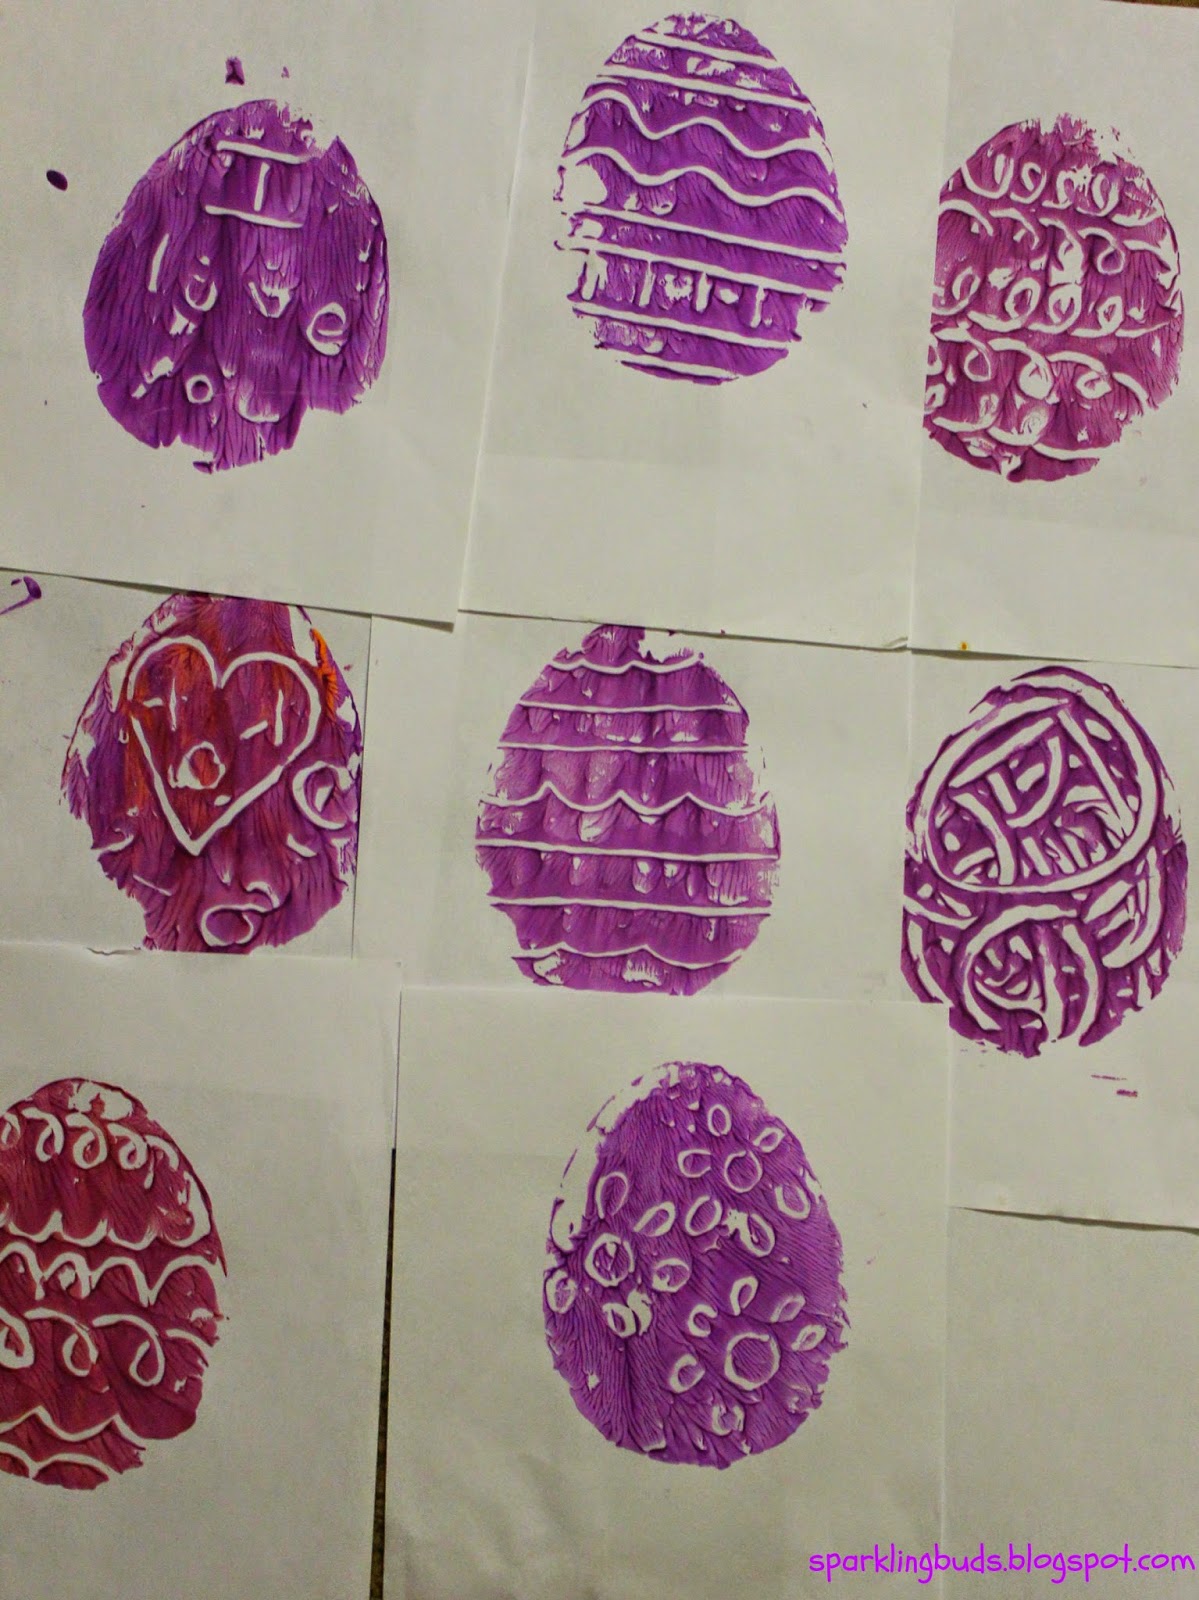
She realized that the prints are reversed than the original design when she tried “I love you” on the design. She tried writing backwards to get the straight wordings.
You can understand how much she enjoyed the activity by seeing how many paintings she has done!
Thanks for reading the post. Hope you enjoyed reading it!
More inspiration for egg decoration :
Please feel free to pin the following image.
If you found this post useful, pin it or share it! It will keep me motivated. Thank you!
nice Dhiyana, interesting fun!
So fun and pretty! Thanks Dhiyana!
Such a great activity! Looks like so much fun.
So simple and cute. 🙂 My daughters are grown up else i would have made them do this. 😛
Actually the child in me wants to do these now. 😀
Thanks Grace, Laura, Deborah and Indrani for your lovely comments!