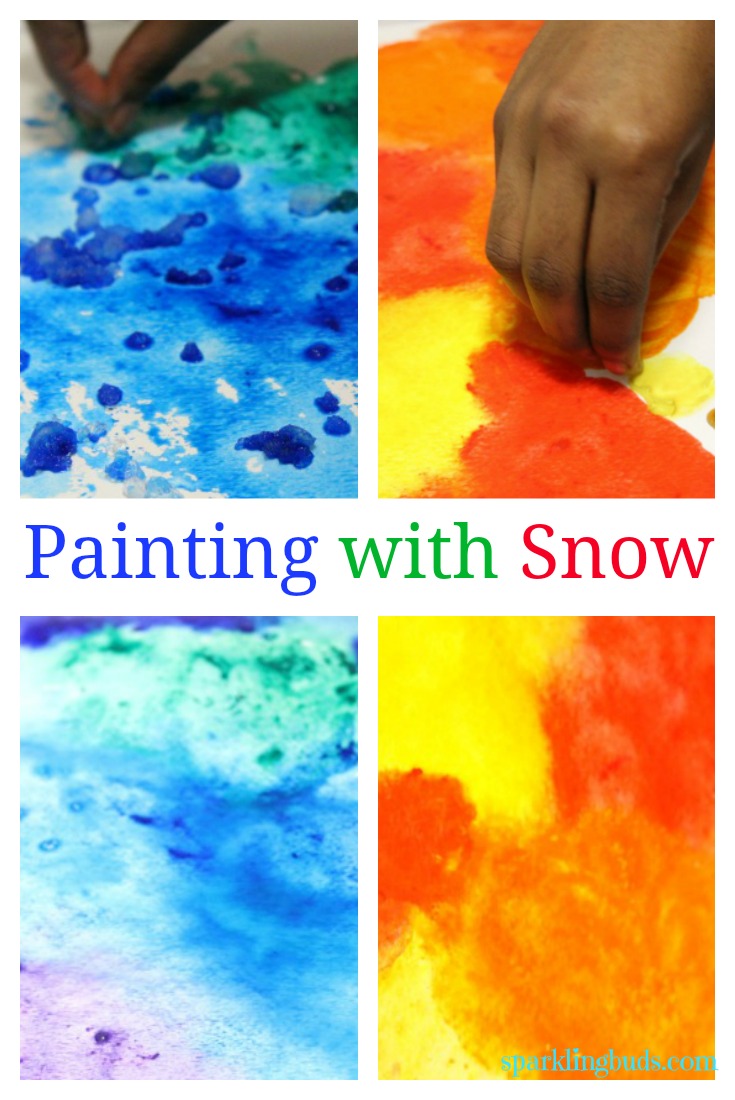
Snow painting is perfect for this cold winter season! My daughters and I made beautiful watercolor paintings with snow. When it snowed last week, we experimented whether snow would change its shape when frozen. And the tray of snow was lying in our freezer. We made these colorful watercolor paintings with the snow.
Affiliation links are used in the post:
Materials needed for this snow painting:
- Watercolor paint
- Watercolor paper
- Snow kept in the freezer
Method:
1. Cover our work area. It was little messy as the paint was dripping.
2. We did not use the fresh snow for your painting. We used the snow that was kept in the freezer. I believe it made a huge difference as the fresh snow would have melted very fast and would have been difficult to paint with. Our snow was lying in the freezer for more than 3 days however freezing for 2 -3 hours should be fine too.
3. Squeeze the watercolor paint from the tube directly to the watercolor paper
.
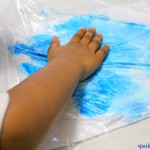
4. Drag the snow around the paper with fingers painting the paper. We did the painting by two methods.
i) Crushed the snow and painted. However the snow started to melt very fast and became very watery. The paint started to run. It was difficult for my preschooler to manage. I had to immediately remove the snow pieces.
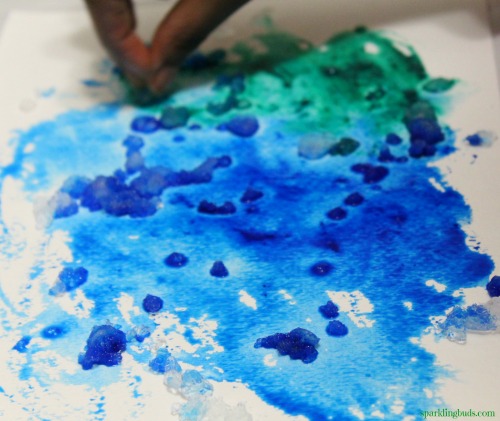
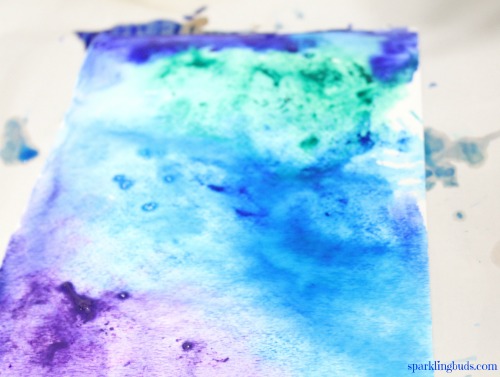
ii) Used the snow as such from the ice tray. It was easy to manage and painted well. My daughters tried to use a pair of gloves but they felt it was better with bare hands.
My ten year old wanted to paint with warm colors but my preschooler did not mind the colors.
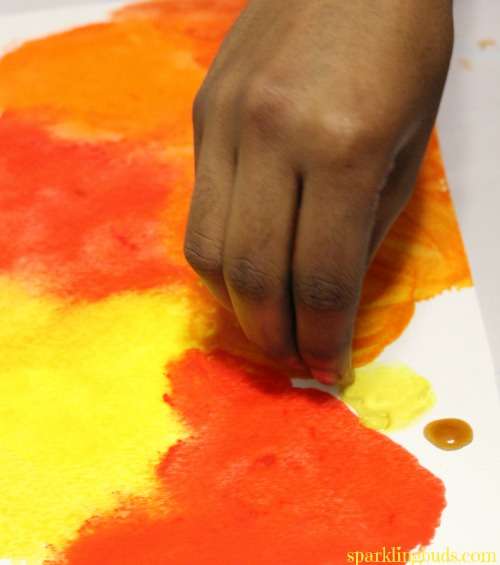
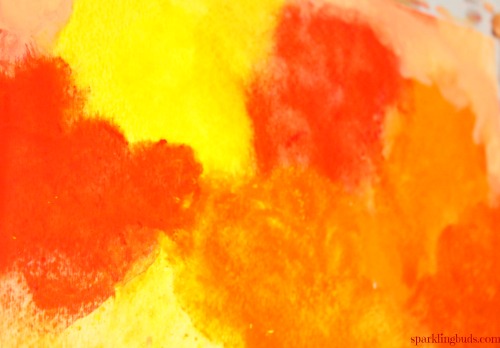
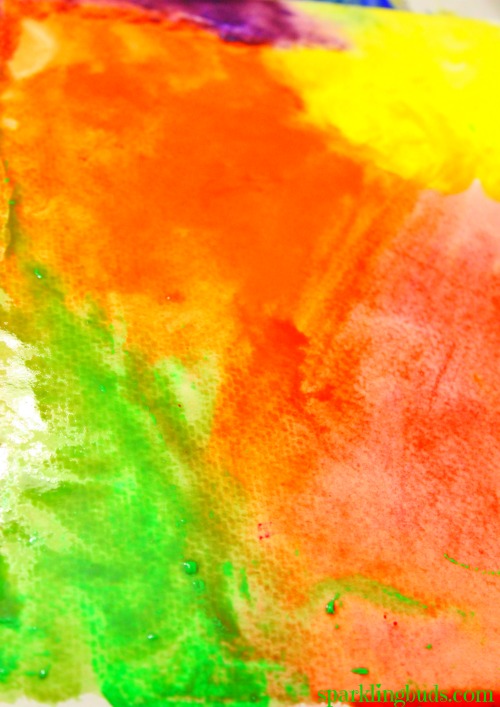
The paintings turned out so beautiful. My kids thoroughly enjoyed painting with the snow. It was simple, fun and colorful!
You might be interested in our other winter painting ideas: Click on the images to read the process.
Please feel free to pin the following image:

Thanks for reading. Hope you enjoyed reading it. If you found this post useful, pin it or share it. It will keep me motivated. Thank you!
Pingback: Ice and Snow Crafts and Activities for Kids- Real And Quirky