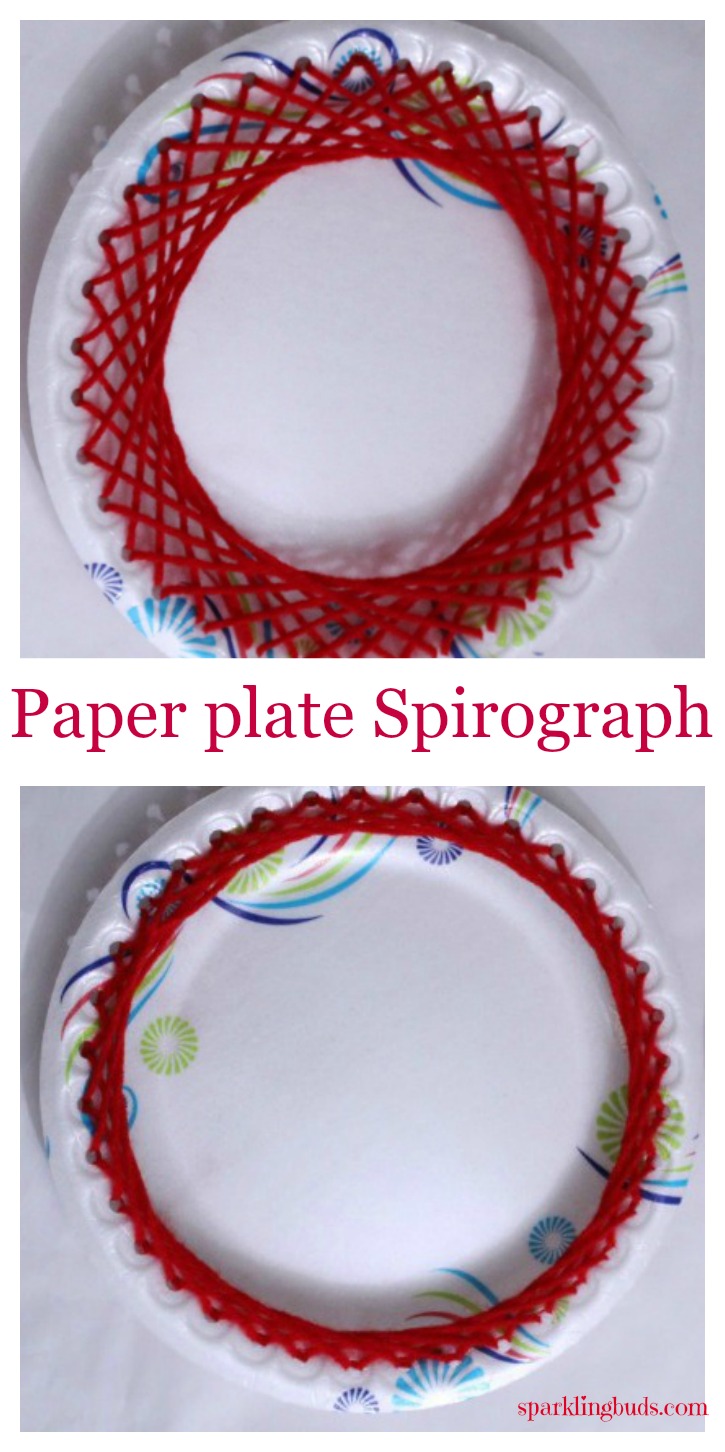
All you need is a paper plate and yarn to make this paper plate lacing activity which creates a beautiful Spirograph. It is one of the best quite rainy day activities. It is therapeutic and relaxing.
Materials required to make this paper plate lacing activity
- Yarn
- Paper plate
- Punching machine
- Tape
Method
- Punch holes in the rim of the paper plate. We used foam plates as they were available at home. However paper plates would have been a bit steadier. We used the design in the rim as our guide to evenly space out the holes.
- Cut yarn. If the yarn is short, you may need to attach frequently. If the yarn is pretty long, it may get tangled. So cut according to our convenience.
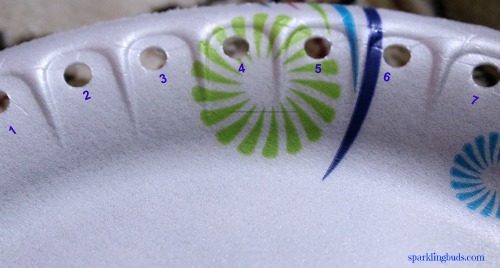
- Confession to make : I noticed that I have missed taking a picture how we started the lacing. Sorry about that. I have numbered the above picture to give you an idea.
- Attach yarn to the back of the paper plate with a piece of tape. Pull through the hole number 1. Push it through the hole number 6.
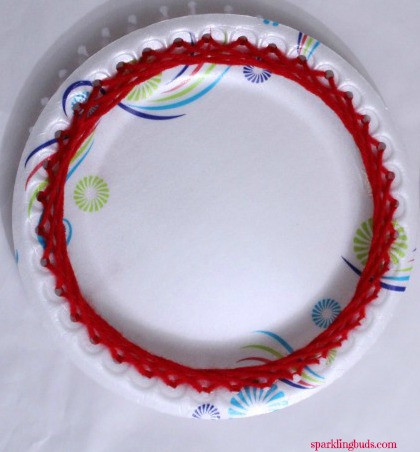
- Again bring it through hole 2 and push it through 7. Repeat bringing from 3 and pushing it through 8. It is pretty simple. Always we will have 5 spaces between the lacing.
- Continue till you complete the entire circle of holes.
- If you need to add yarn in the middle of lacing, attach the end of the yarn to the back of the plate with tape. Start from the same hole using a new string after attaching its one end at the back of the plate.
The below picture is what we got “spacing” out 5 holes between lacing.
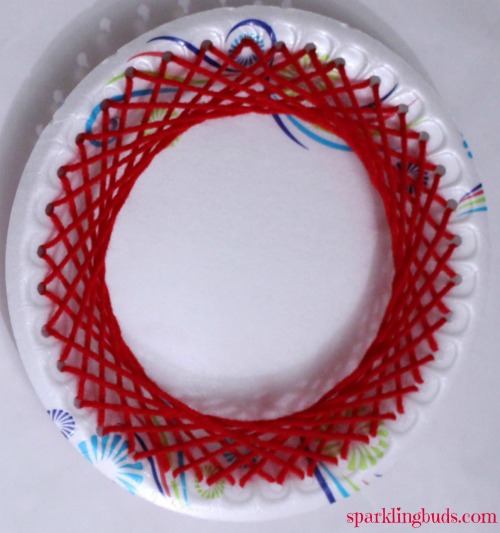
The below picture is what we got when we “spaced” out 10 holes. Bring it through hole 1 and push it through 11 and bring back through hole 2 and push through 12 etc.
How do our paper plate lacing Spirographs look?
You may be interested in our other craft activities :
Please feel free to pin the following image

Thanks for reading. Hope you enjoyed reading it. If you found this post useful, pin it or share it. It will keep me motivated. Thank you!
