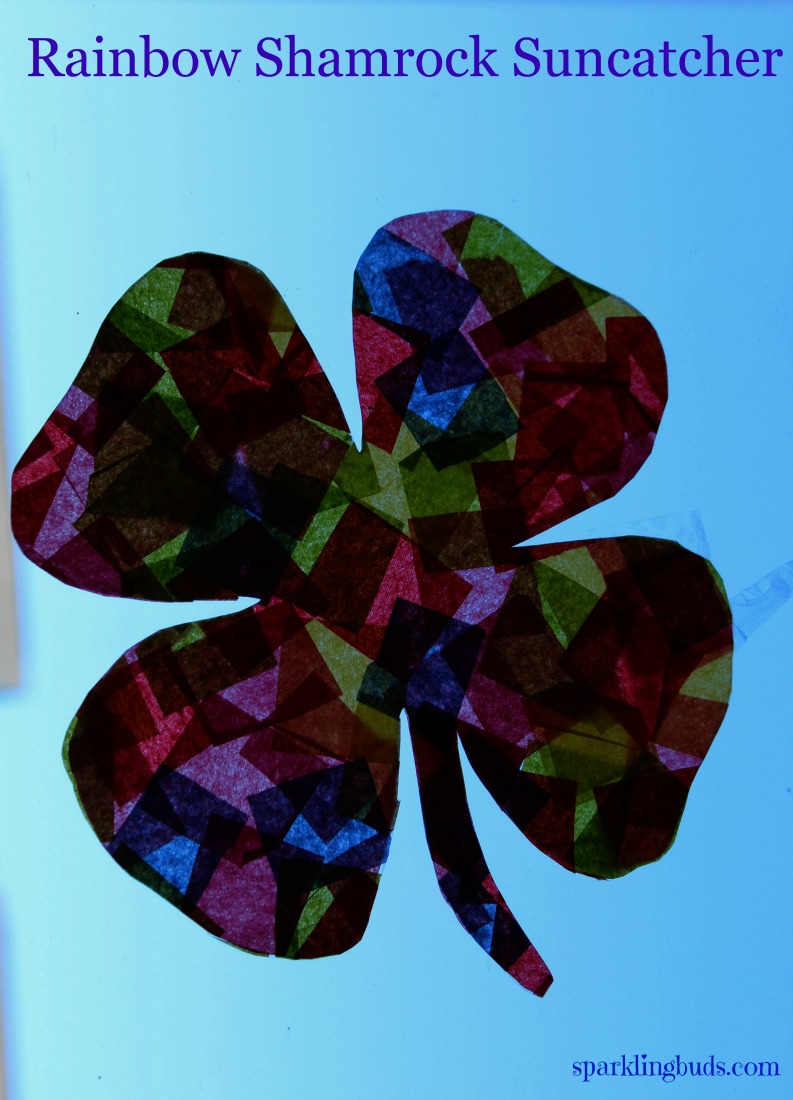
The weather was pretty good over the weekend! It was in mid 50s and sun was shinning. Not bad for February! We made the classic and simple tissue paper suncatcher in shamrock shape to decorate our window. It is very beautiful when the sun shines through it!

Simple tissue paper suncatcher!
Affiliation links are used in the post.
Materials needed to make Suncatcher:
- Tissue papers in multiple colors- We got them at dollar tree. They are called gift tissue papers.
- Contact paper
- Shamrock template
- Tape
- Marker
- Scissors
Method:
- Cut tissue paper into squares. Cut two similar sized contact paper slightly bigger than the shamrock template.
- Remove the backing from the first contact paper
. Tape it to the work area with the sticky side facing up.
- Invite the child. The child has to cover the entire contact paper with tissue papers. My preschooler loved the stickiness of the contact paper. She pasted the tissue paper on the sticky side while calling out the name of the colors.
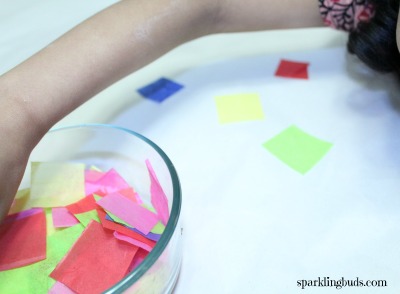
- Once the entire paper is covered with tissue papers, remove the backing from the other contact paper.
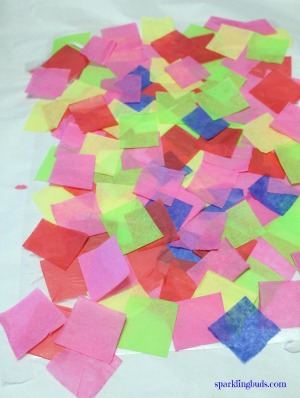
- Place the second contact paper on the tissue papers with the sticky side touching the tissue papers. Now tissue papers are sandwiched between the layers of contact paper. Trace the shamrock template on the sandwich with the marker.
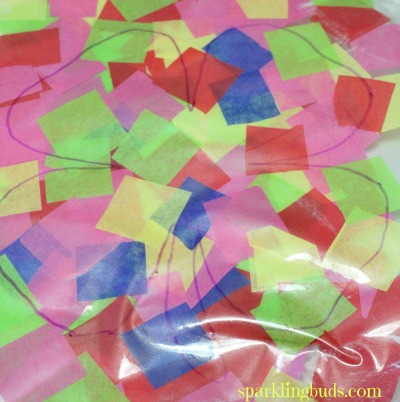
- Cut out the shamrock suncatcher.
- Attach it to the sunny window with a piece of tape.

Isn’t it beautiful? It is one of the activities where you can happily cook when the child does the work.
You may be interested in other suncatcher ideas. Click on the pictures below to read about them.
Please feel free to pin the following pin friendly image:
Thanks for reading. Hope you enjoyed reading it. If you found this post useful, pin it or share it. It will keep me motivated. Thank you!


Pingback: 23 St Patricks Day Crafts for Kids | The Frugal Navy Wife