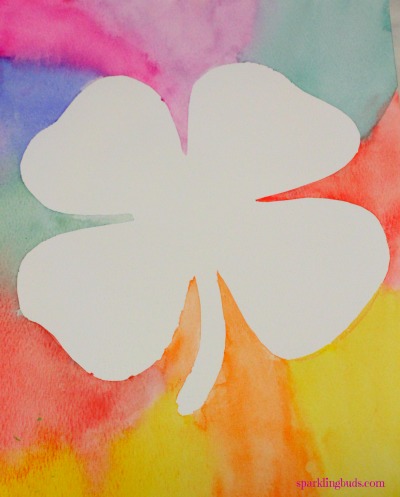
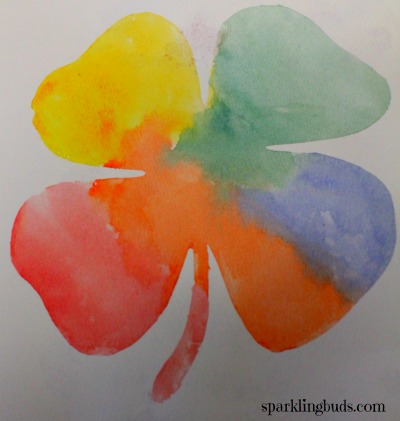
We love simple watercolor projects. So many watercolor techniques can be customized easily for kids. Our favorite technique is resist which we used to create tulips and peacock. Today we used the same resist technique to create these positive and negative Shamrocks.
Watercolor techniques!
Materials required for these paintings:
- Contact paper
- Watercolor paper
- Watercolor paint
- Brushes
- Shamrock template
- Marker
Method:
- Cut the contact paper as the same size as the watercolor paper. Trace the shamrock template at the back with the marker.
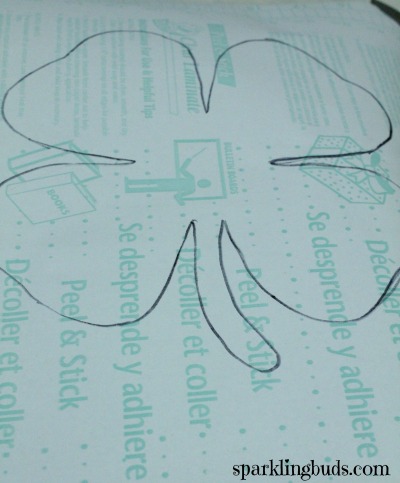
- Cut out the inside portion of the shamrock. I poked a hole on the outline of the shamrock and cut along the outline.
- Remove the backing of the contact paper and paste the shamrock cut out on the watercolor paper.
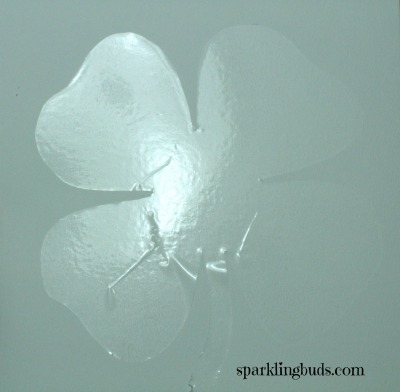
- Attach the contact paper with the shamrock hole on another watercolor paper.
- Watercolor on both papers. We added water to the paper before applying the paint. In this wet on wet watercolor technique, the color would spread on its own.
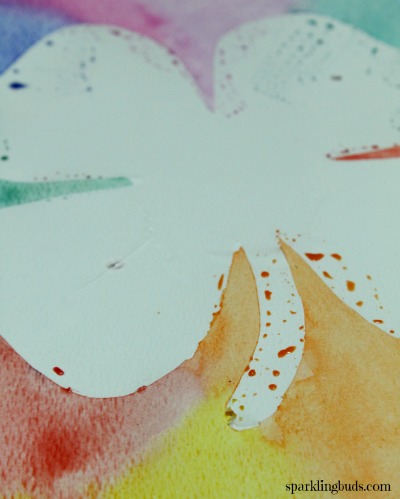
- The contact paper will resist the paint.
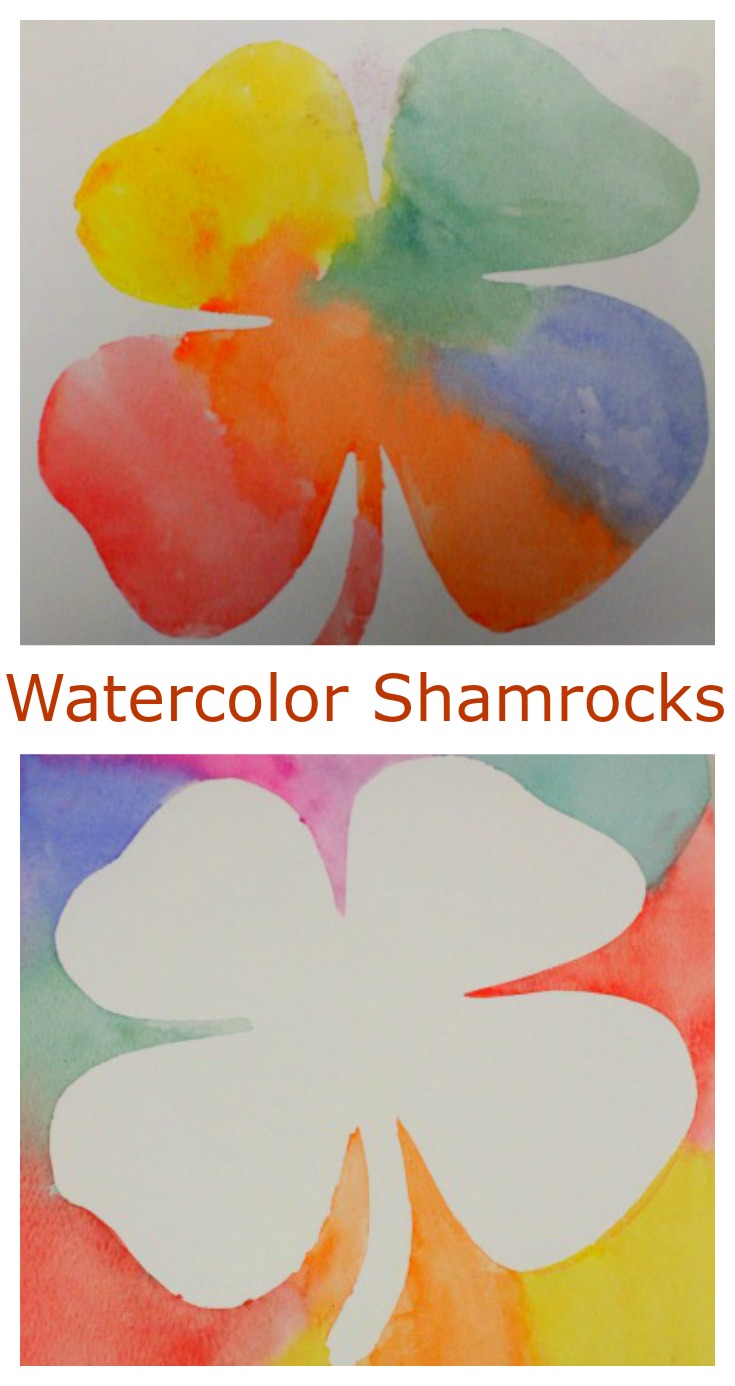
- Let the paintings dry. Slowly remove the contact paper. The following art was created with the contact paper with shamrock hole. The contact paper had resisted the paint and only the hole got painted.
- The following art was created with shamrock cutout. Other than the shamrock shape, the entire paper is painted to create the negative space.

It is a very simple technique to do with preschoolers. Bigger kids can handle this project with ease.
So, did you create any projects with watercolors recently? How did they turn out?
You may interested in our other watercolor projects. Please click the pictures below to read about them.
Please feel free to pin the following image:
Thanks for reading. Hope you enjoyed reading it. If you found this post useful, pin it or share it. It will keep me motivated. Thank you!


Pingback: Shamrock Crafts for St. Patrick's Day - Creative Family Fun