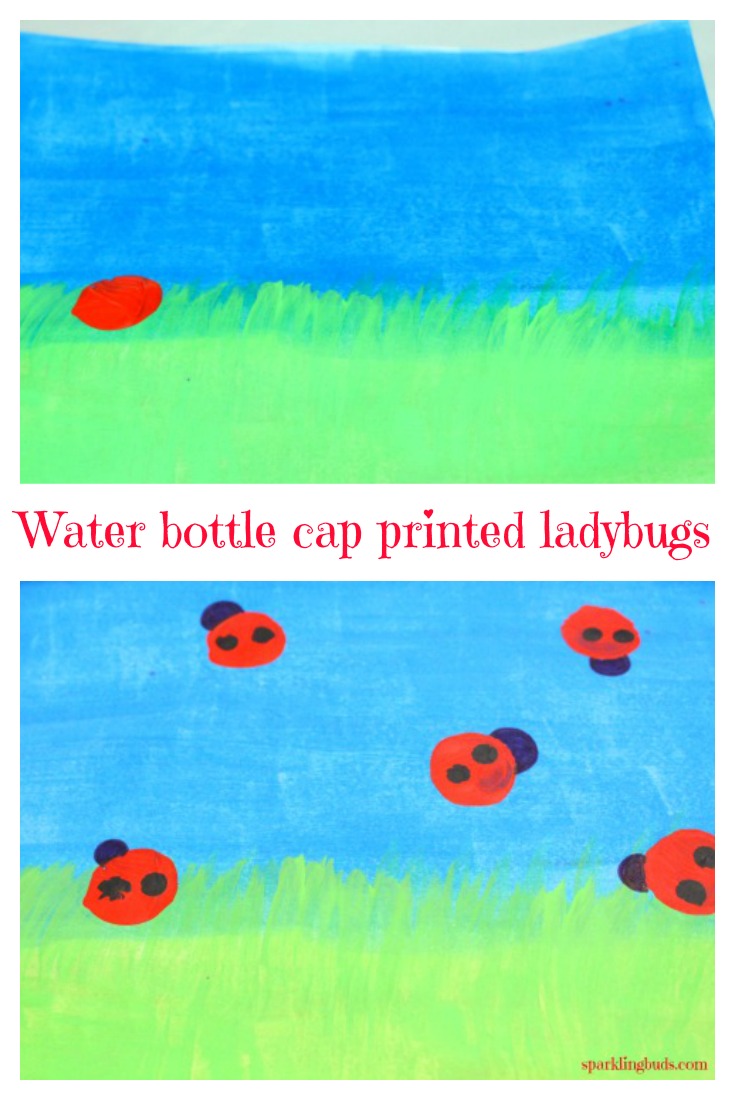
I am so done with Massachusetts Winter. It is still pretty cold but getting better. Yay! Few days are warmer making us think about Spring. We did a simple and beautiful ladybug painting to welcome Spring. We had made ladybugs from potato print earlier. Now, we used water bottle cap to make them. These ladybug painting ideas are simple enough for toddlers and preschoolers.
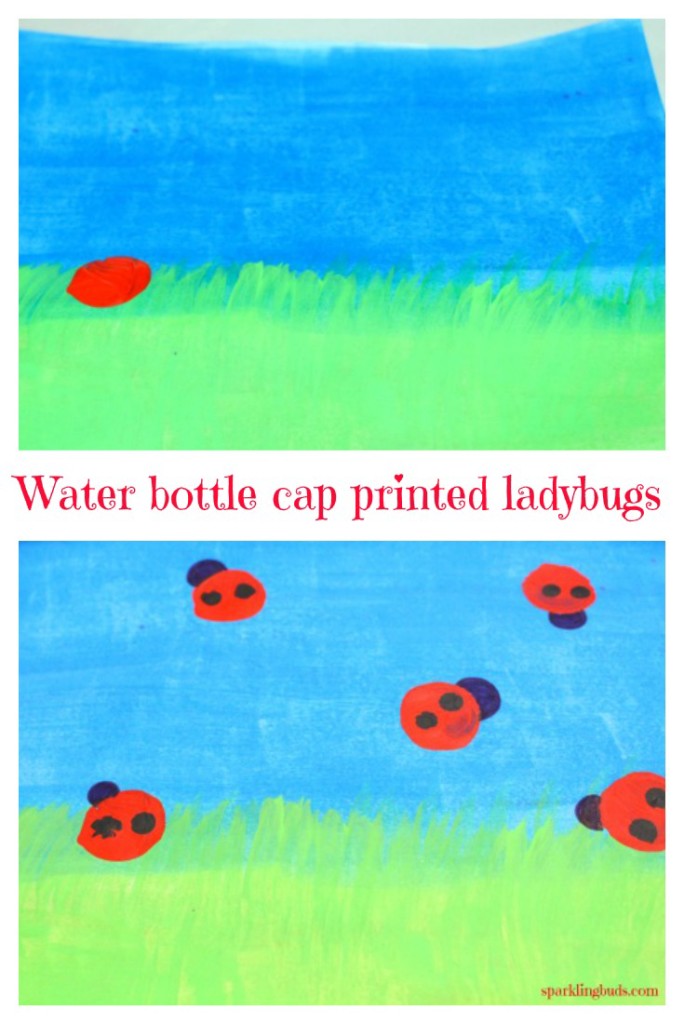
Ladybug painting ideas!
Materials needed for this ladybugs painting:
- Acrylic paint
- Paint brush
- Water bottle lid
- Black marker
- Q-tips
- Printer paper/Thick drawing sheet
Method:
This painting does not need any preparation. Get the paints out and you are good to go!
We used printer paper for our painting. It started to curl when we applied acrylic paint. We should have used thick paper like drawing sheet.
Paint half sheet blue for the sky and bottom half sheet green for the meadows. I asked my daughter to move the green paint upwards with the brush to make it look like grass. We waited few moments for the paint to dry. As acrylic paint dries fast, it should have taken couple of minutes to dry.
Pour red paint in a wide pan or paper plate. Dip the water bottle lid in the red paint and print it in the paper.
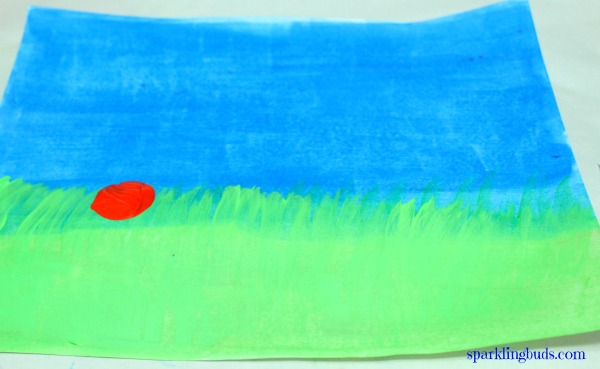
Repeat printing red paint in the paper at few more places. Wait for the paint to dry completely.
Paint black dots on the ladybugs with q-tips. Our red paint was not completely dry, so black paint got mixed up with red paint. Add an inverted “U”shape with the black marker for the head.
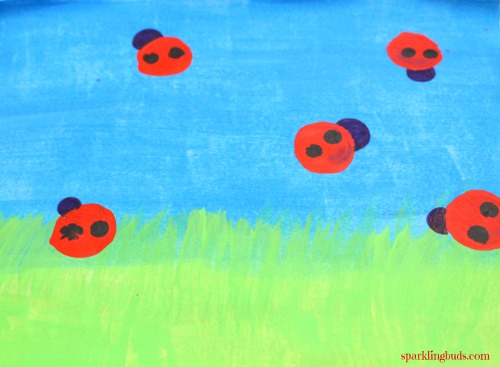
The beautiful ladybug painting is done! It is a simple technique to print beautiful ladybugs. Aren’t they beautiful?
You may be interested in our other simple spring painting ideas. Click on the pictures below to read about them.
 |
Please feel free to pin the following image:
