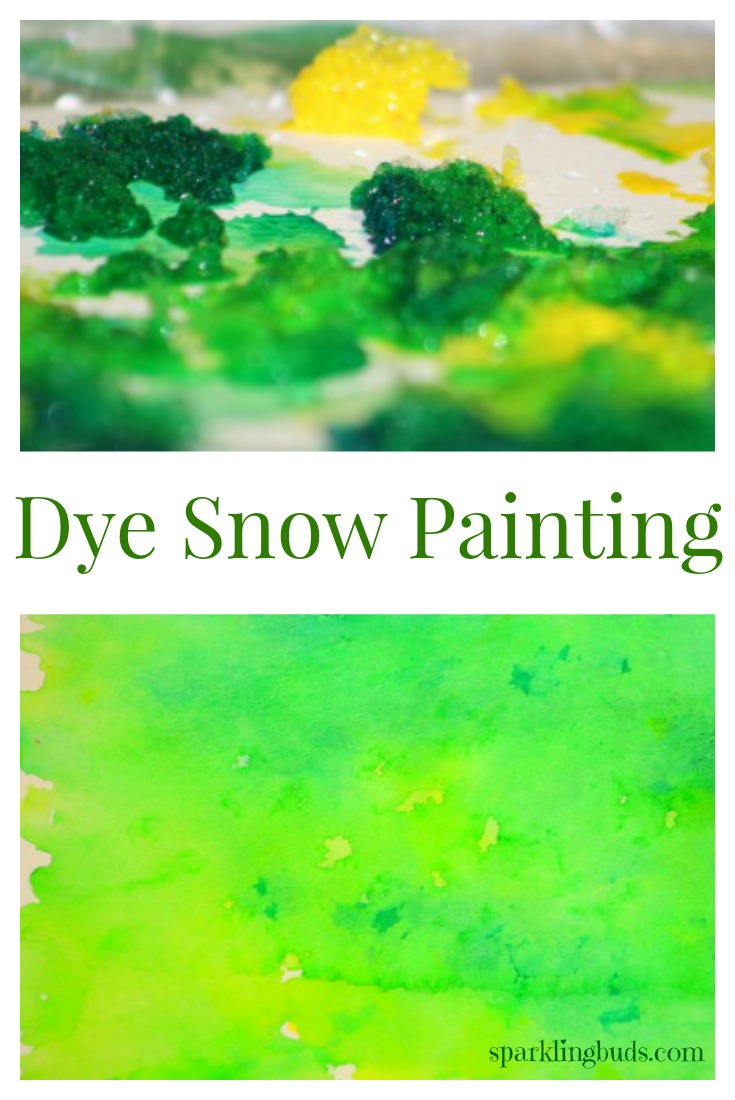
I know it feels odd to share snow dyeing idea when we are all thinking about spring. I could not resist my urge to paint when I saw 12 inches of fresh snow. We used the dye from our Easter eggs dyeing kit to make this beautiful snow dyed painting. Snow dyeing is bit messy but fun!
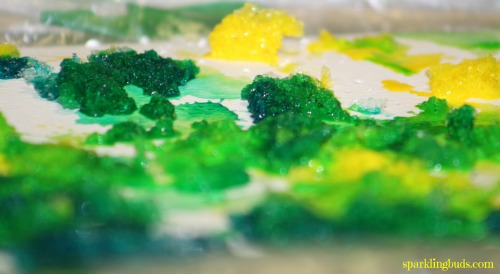
Snow dyeing!
Materials required for painting with snow:
- Watercolor paper
- Snow
- Dye (We used dye from our Easter egg dyeing kit) or liquid watercolors
- A wide pan like cookie sheet to contain the mess
- A clear sheet to protect the cookie sheet from dye
Method:
- Cover the cookie sheet with clear sheet. We used the grocery store vegetable bags.
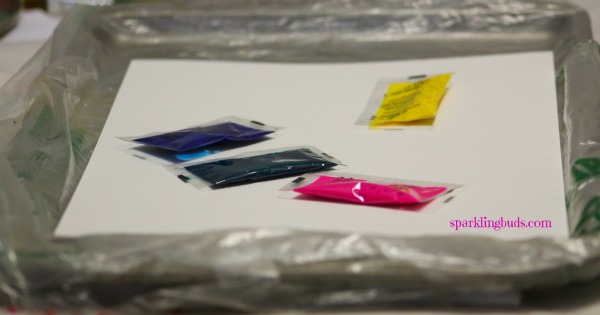
- Place the watercolor paper on the covered cookie sheet.
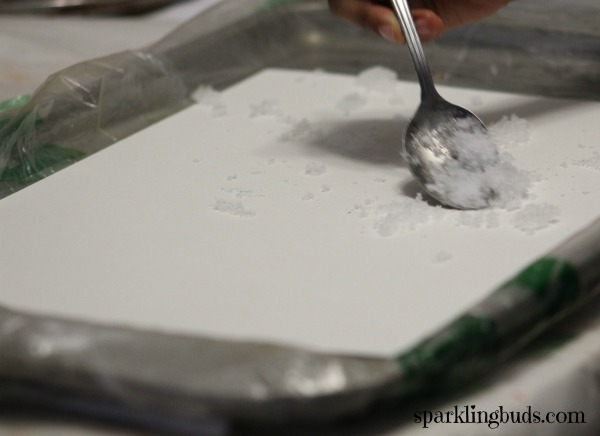
- Drop snow on the watercolor paper. We added a lot of snow which diluted the dye a lot. So we had to remove later. Less is better!
- Drop the dyes on the snow. Liquid watercolors can be used too. However the colors will be less vibrant.
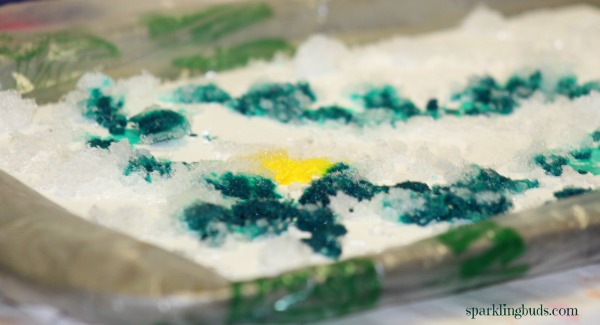
- Watch the colors mix. We moved the colored snow with the spoon to watch the colors mixing. Since we had added a lot of snow, the colors started to run when snow melted. It was fun to watch.

- Let the painting dry after the snow is melted completely and has dyed the paper. The snow dyeing on the watercolor paper is complete. Now we have a beautifully painted watercolor paper.
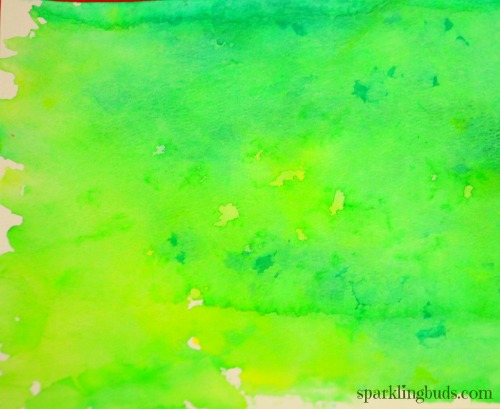
Isn’t beautiful? I may use it for some other project like heart weaving made with another kind of snow painting. My kids had fun playing and painting with snow. It was fun for them to watch the flowing colors river.
You may be interested in our other snow or ice activities. Please click the pictures below to read about them.
Please feel free to pin the following image:
