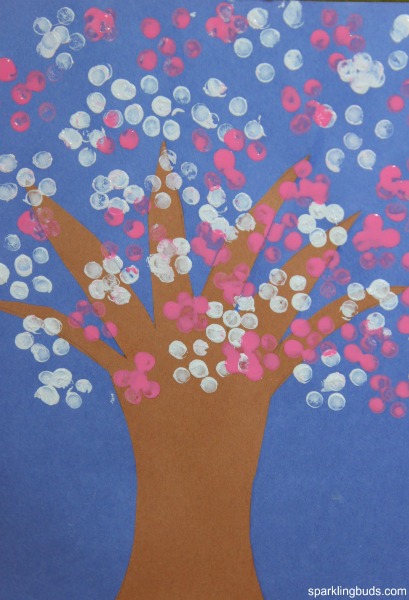
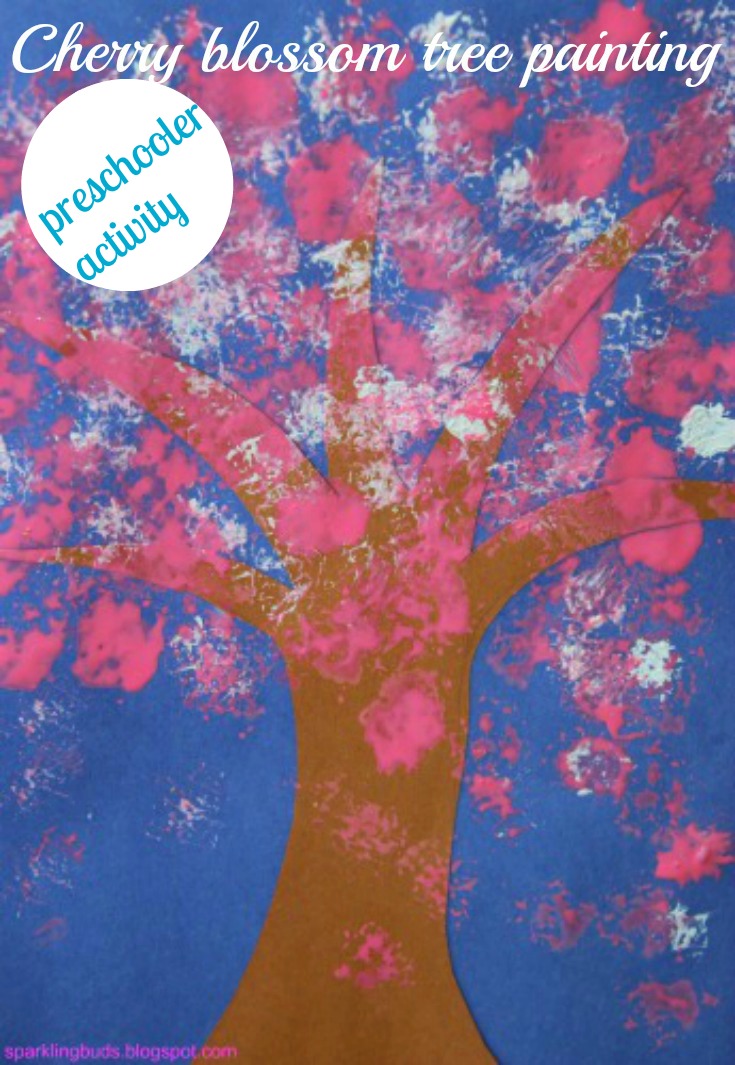
Though we do not have many cherry blossoms around our neighborhood, whenever we cross one, we enjoy its beauty. My daughters made these cherry blossom trees and enjoyed making them. There are two versions of paintings at my house – one by my preschooler and another by my eight year old.
Materials needed: (affiliation links are used)
1. Construction paper – Blue and brown
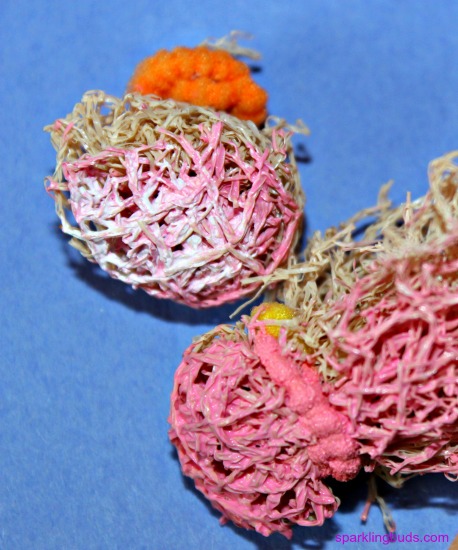
3. Vegetable mesh (painting tool used by my preschooler)
4. Push pin (painting tool used by my elder one)
5. Rubber band
6. School glue
Method:
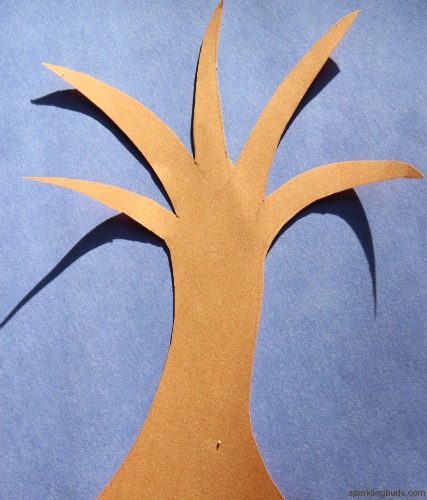
1. Draw and cut a tree shape from the brown paper. Attach it to the blue paper with school glue.
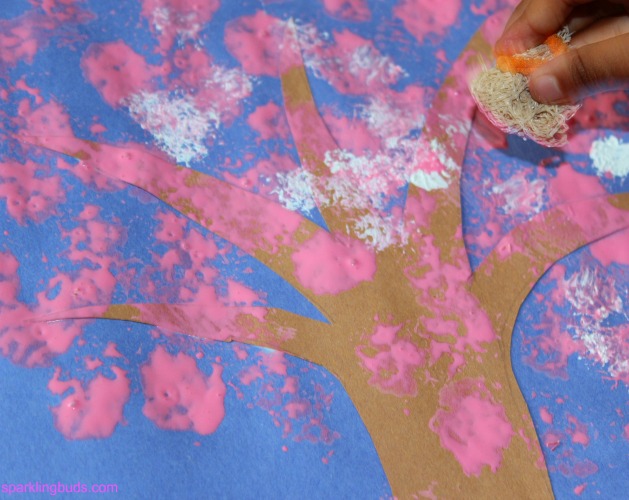
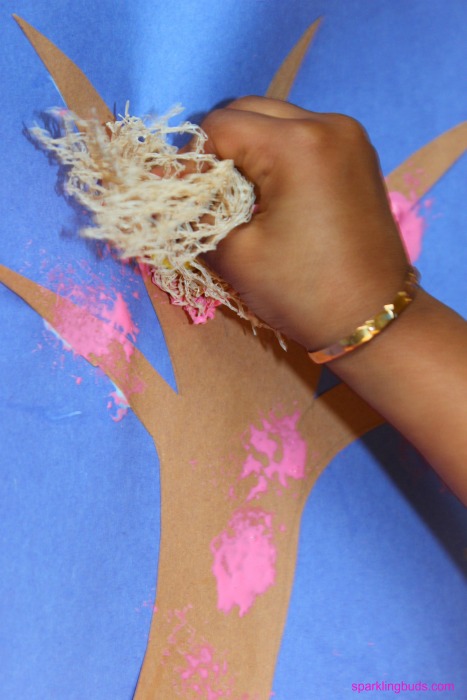
2. Cut out a small portion of the mesh bag and roll it into a ball. Tie it with a rubber band. Pour pink paint in the palette.
3. Ask the preschooler to touch the paint with mesh brush and stamp in the paper.
4. Change the mesh brush and continue with white paint.
5. Meanwhile my elder one, made flowers with push pin. She used the same technique as our stamped flowers painting. Dip the pushpin’s head in the paint and stamp it in the paper.
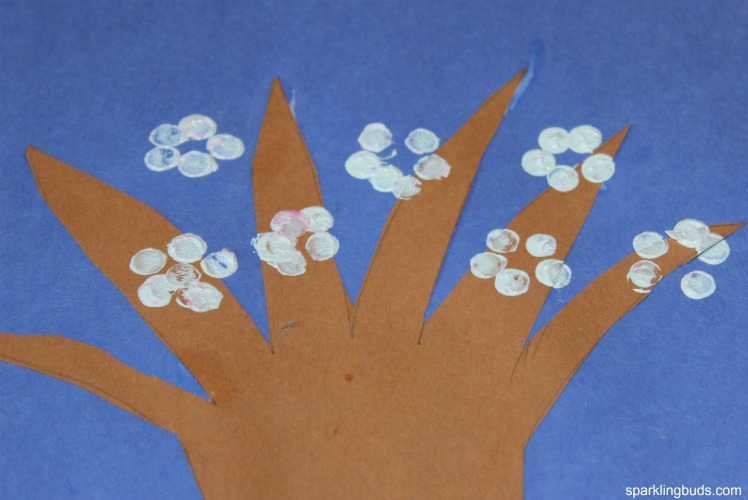
This is her version of painting.
 The mesh brush is a fun brushing tool. My daughter enjoyed painting with it.
It was fun to see them talking and painting together. The paintings are also beautiful and I feel some spring-ish by those paintings.
More ideas for inspiration:
2. Pipe cleaner printed flowers
Thanks for reading the post. Hope you enjoyed reading it! Please feel free to pin the following image.

Oh, I like the pushpin idea! I guess it’s kind of like Q tip painting, but more perfectly round. 🙂 We’ve done fingerprint cherry blossom trees.
Love this! Such a pretty Springtime craft 🙂
#Pintorials
Thanks Shecki and Gude!
This is so cute! My daughter would love it! I found you over on the Thoughtful Spot Blog Hop. Thank you for sharing!
Thanks for hosting Nicole!
Pingback: 20+ Mother's Day Gifts Kids Can Make! | True Aim